DIY Guide: Building a Stunning Geometric Accent Wall
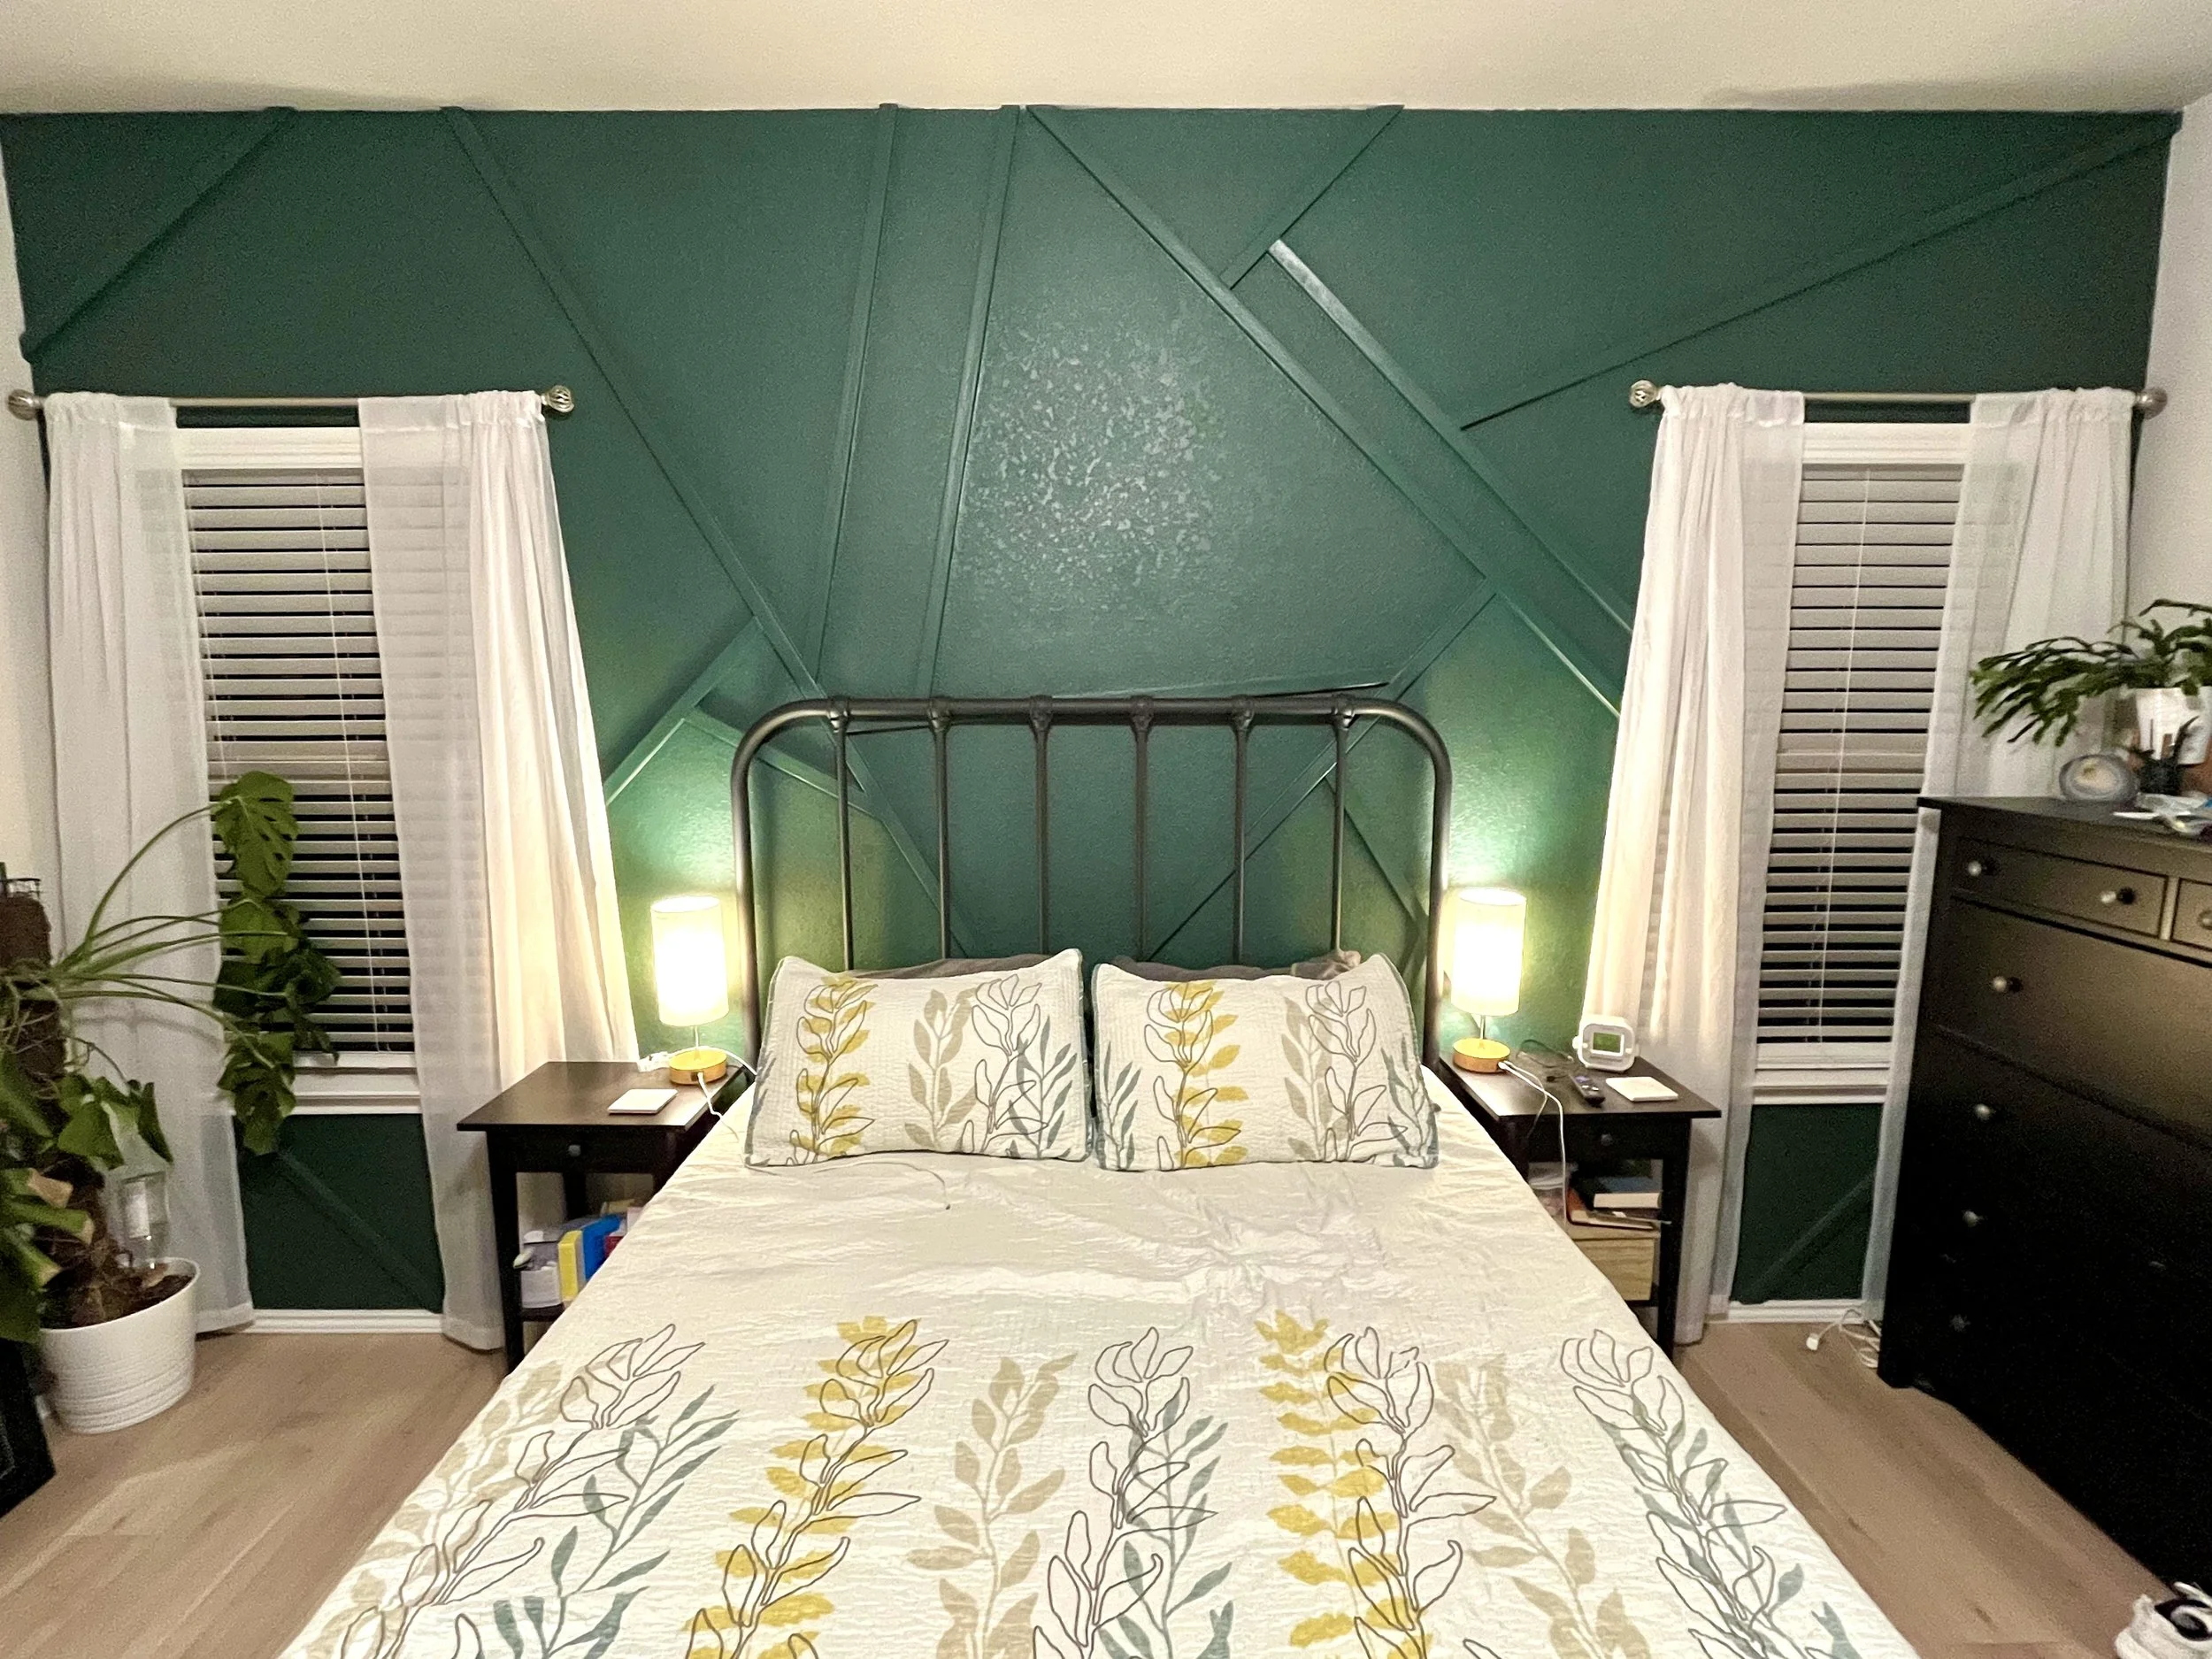
Looking to bring a bold, modern touch to your space? A geometric accent wall made from wood boards is a fun and creative project that instantly transforms a plain wall into a work of art. While it does involve some measuring and cutting, the end result is more than worth it—and the best part is, no two walls will ever look the same.
Materials You’ll Need
-
Measuring Tape
-
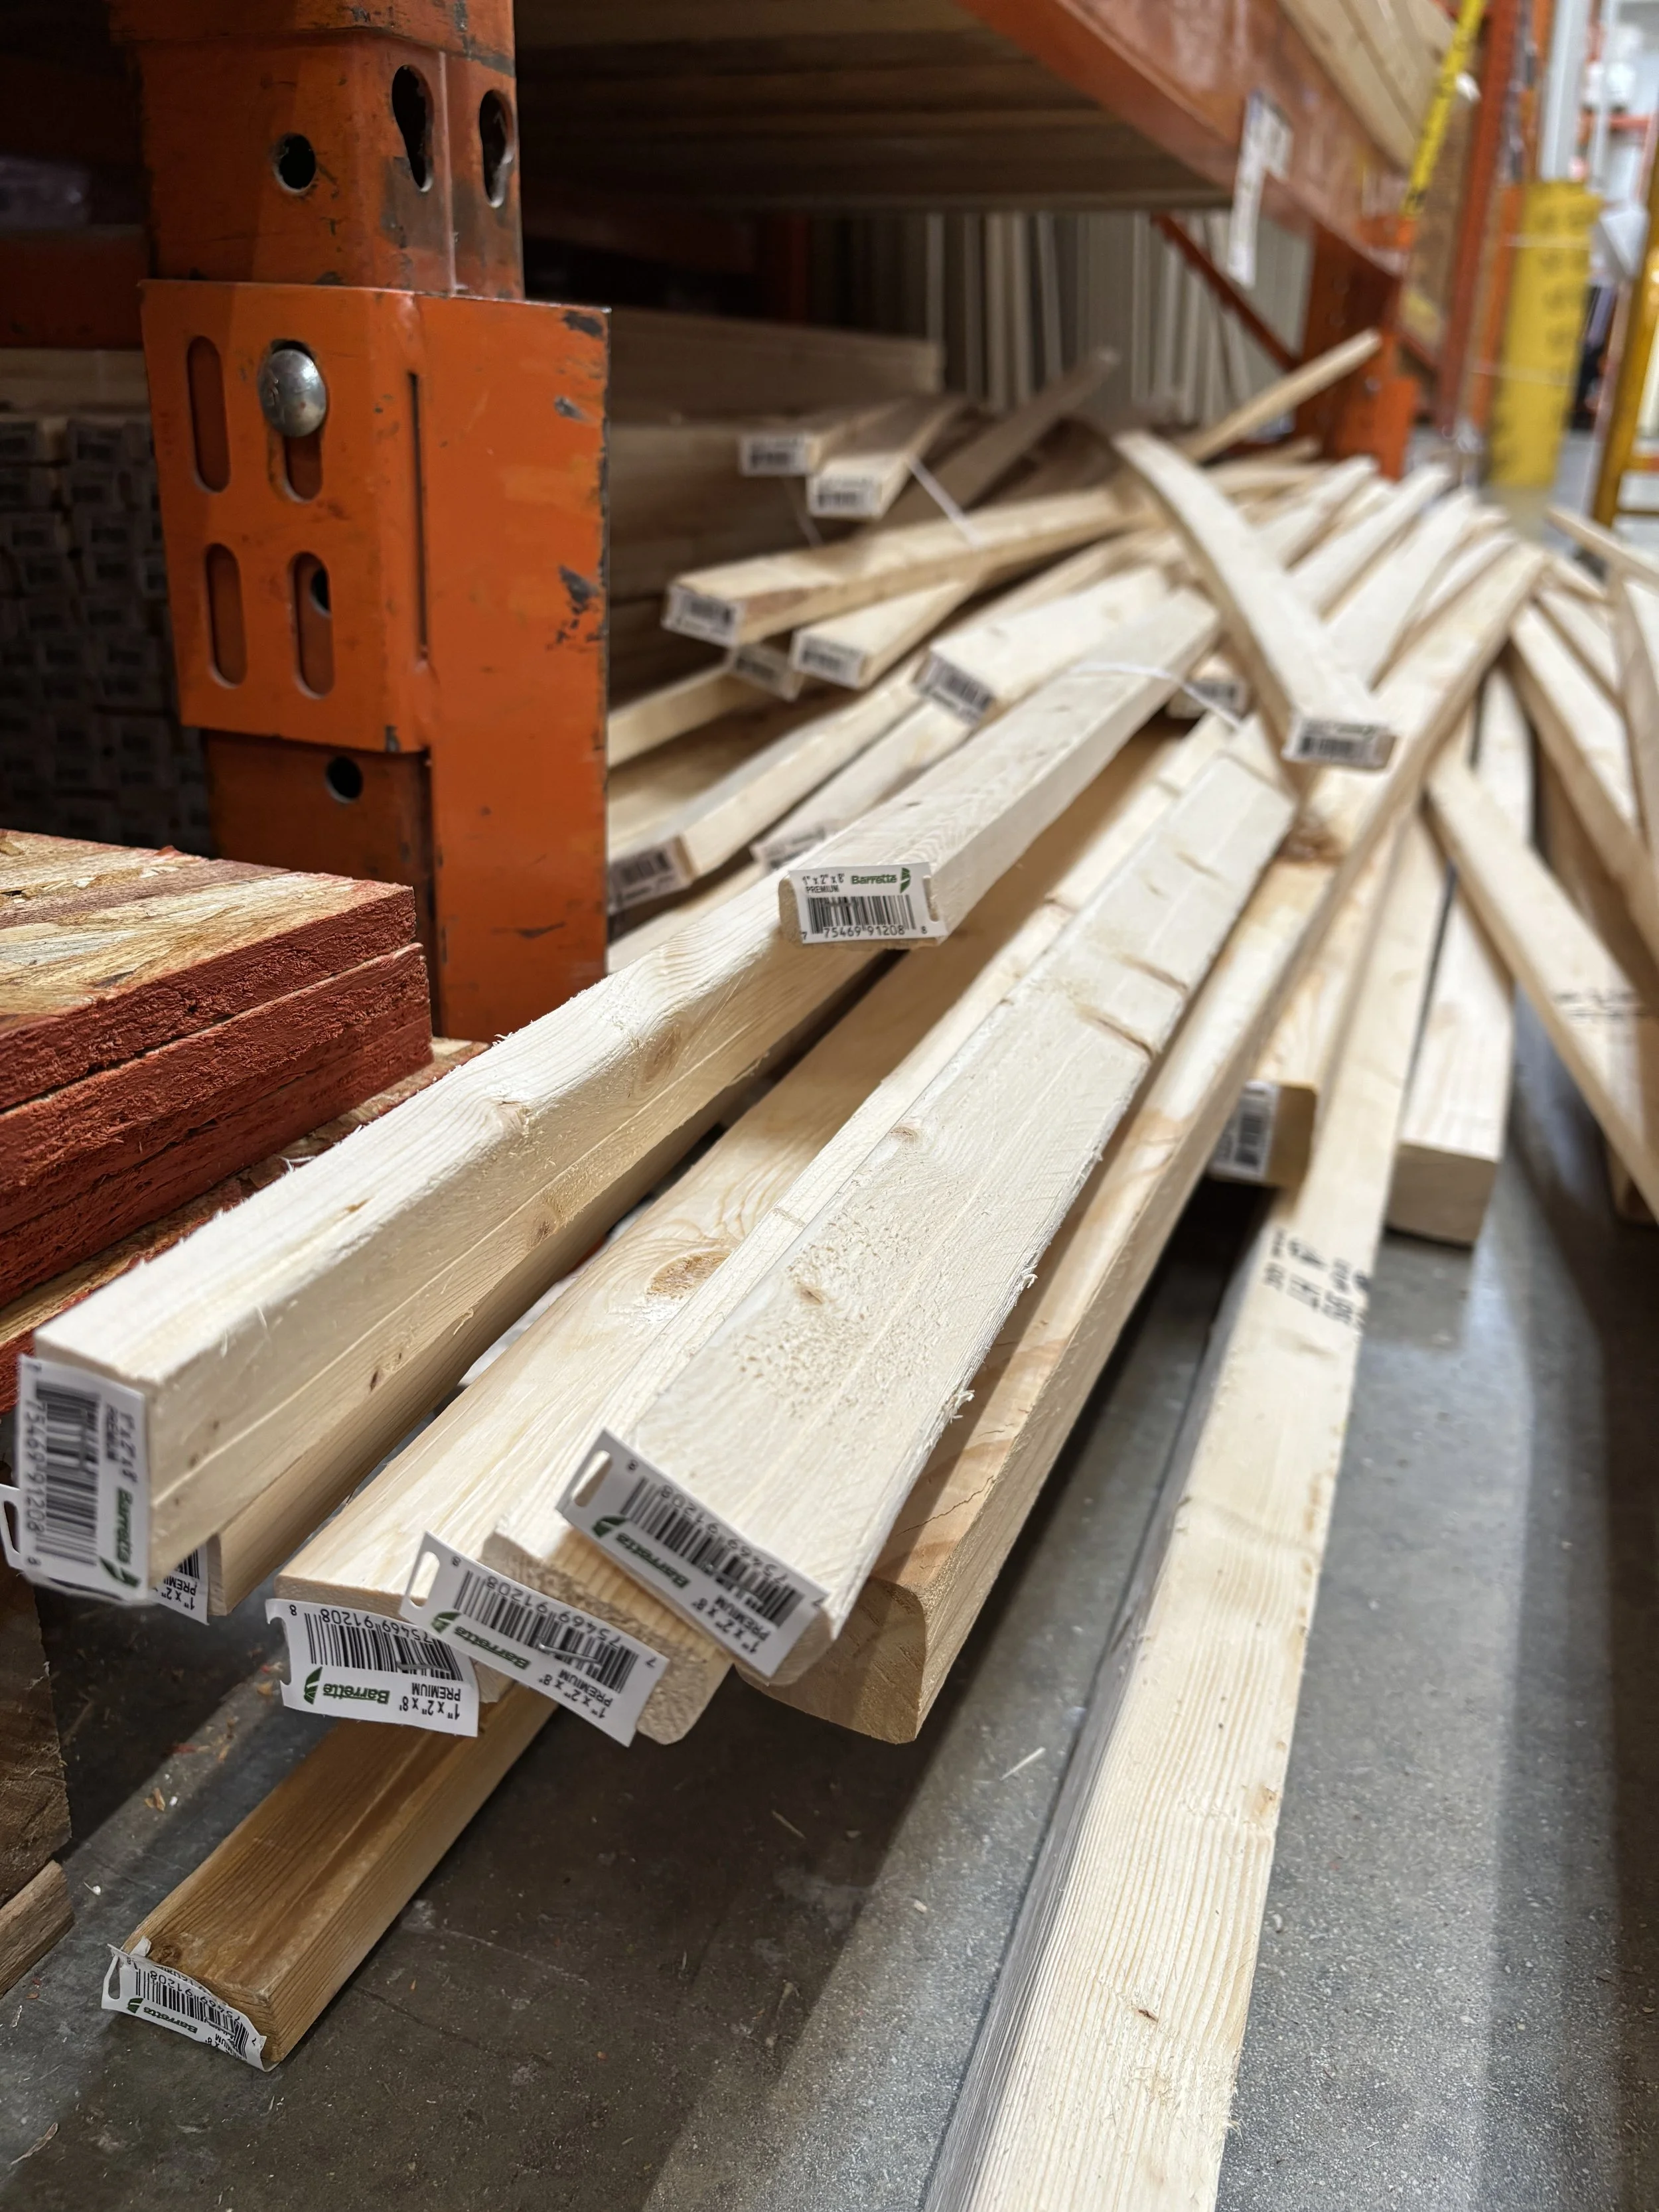
Wood Boards
1” x 2" pine boards (8 ft; natural or primed pine works best)
-

Carpenter’s square
-

Hammer or Nail Gun
Since this was our first project, we used a hammer—but looking back, a nail gun would have made the process so much faster and easier.
-
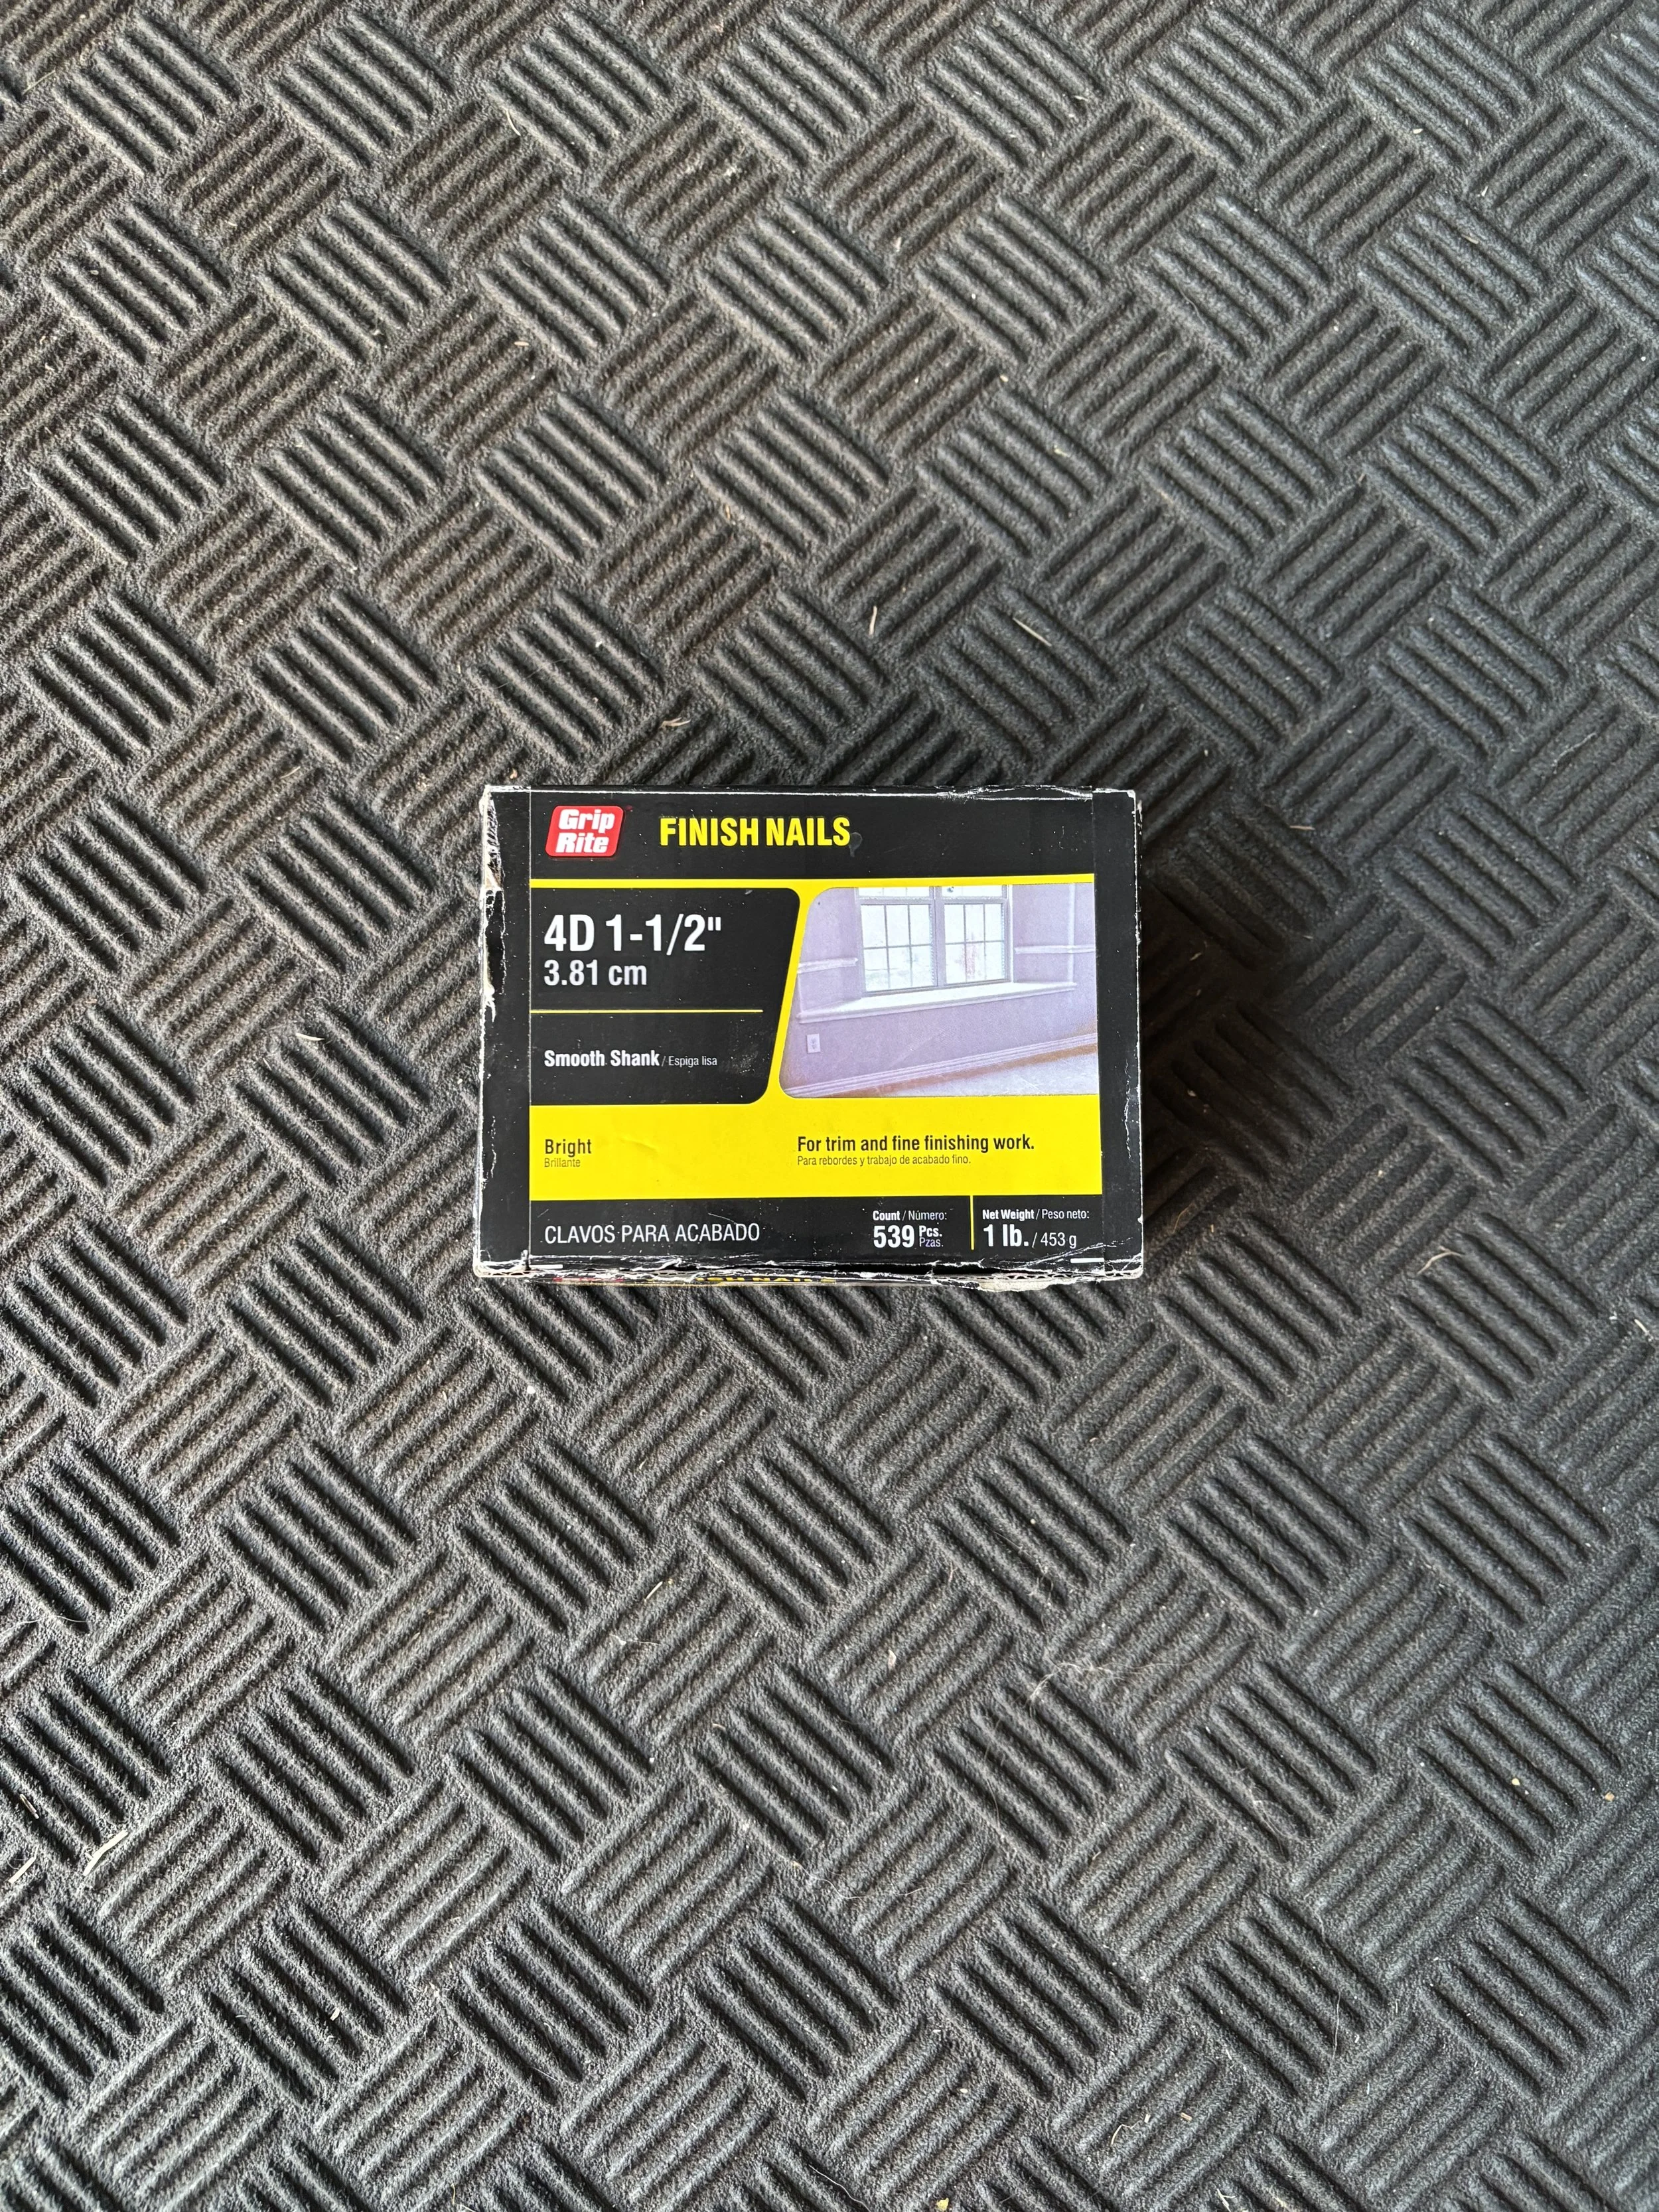
Nails
-
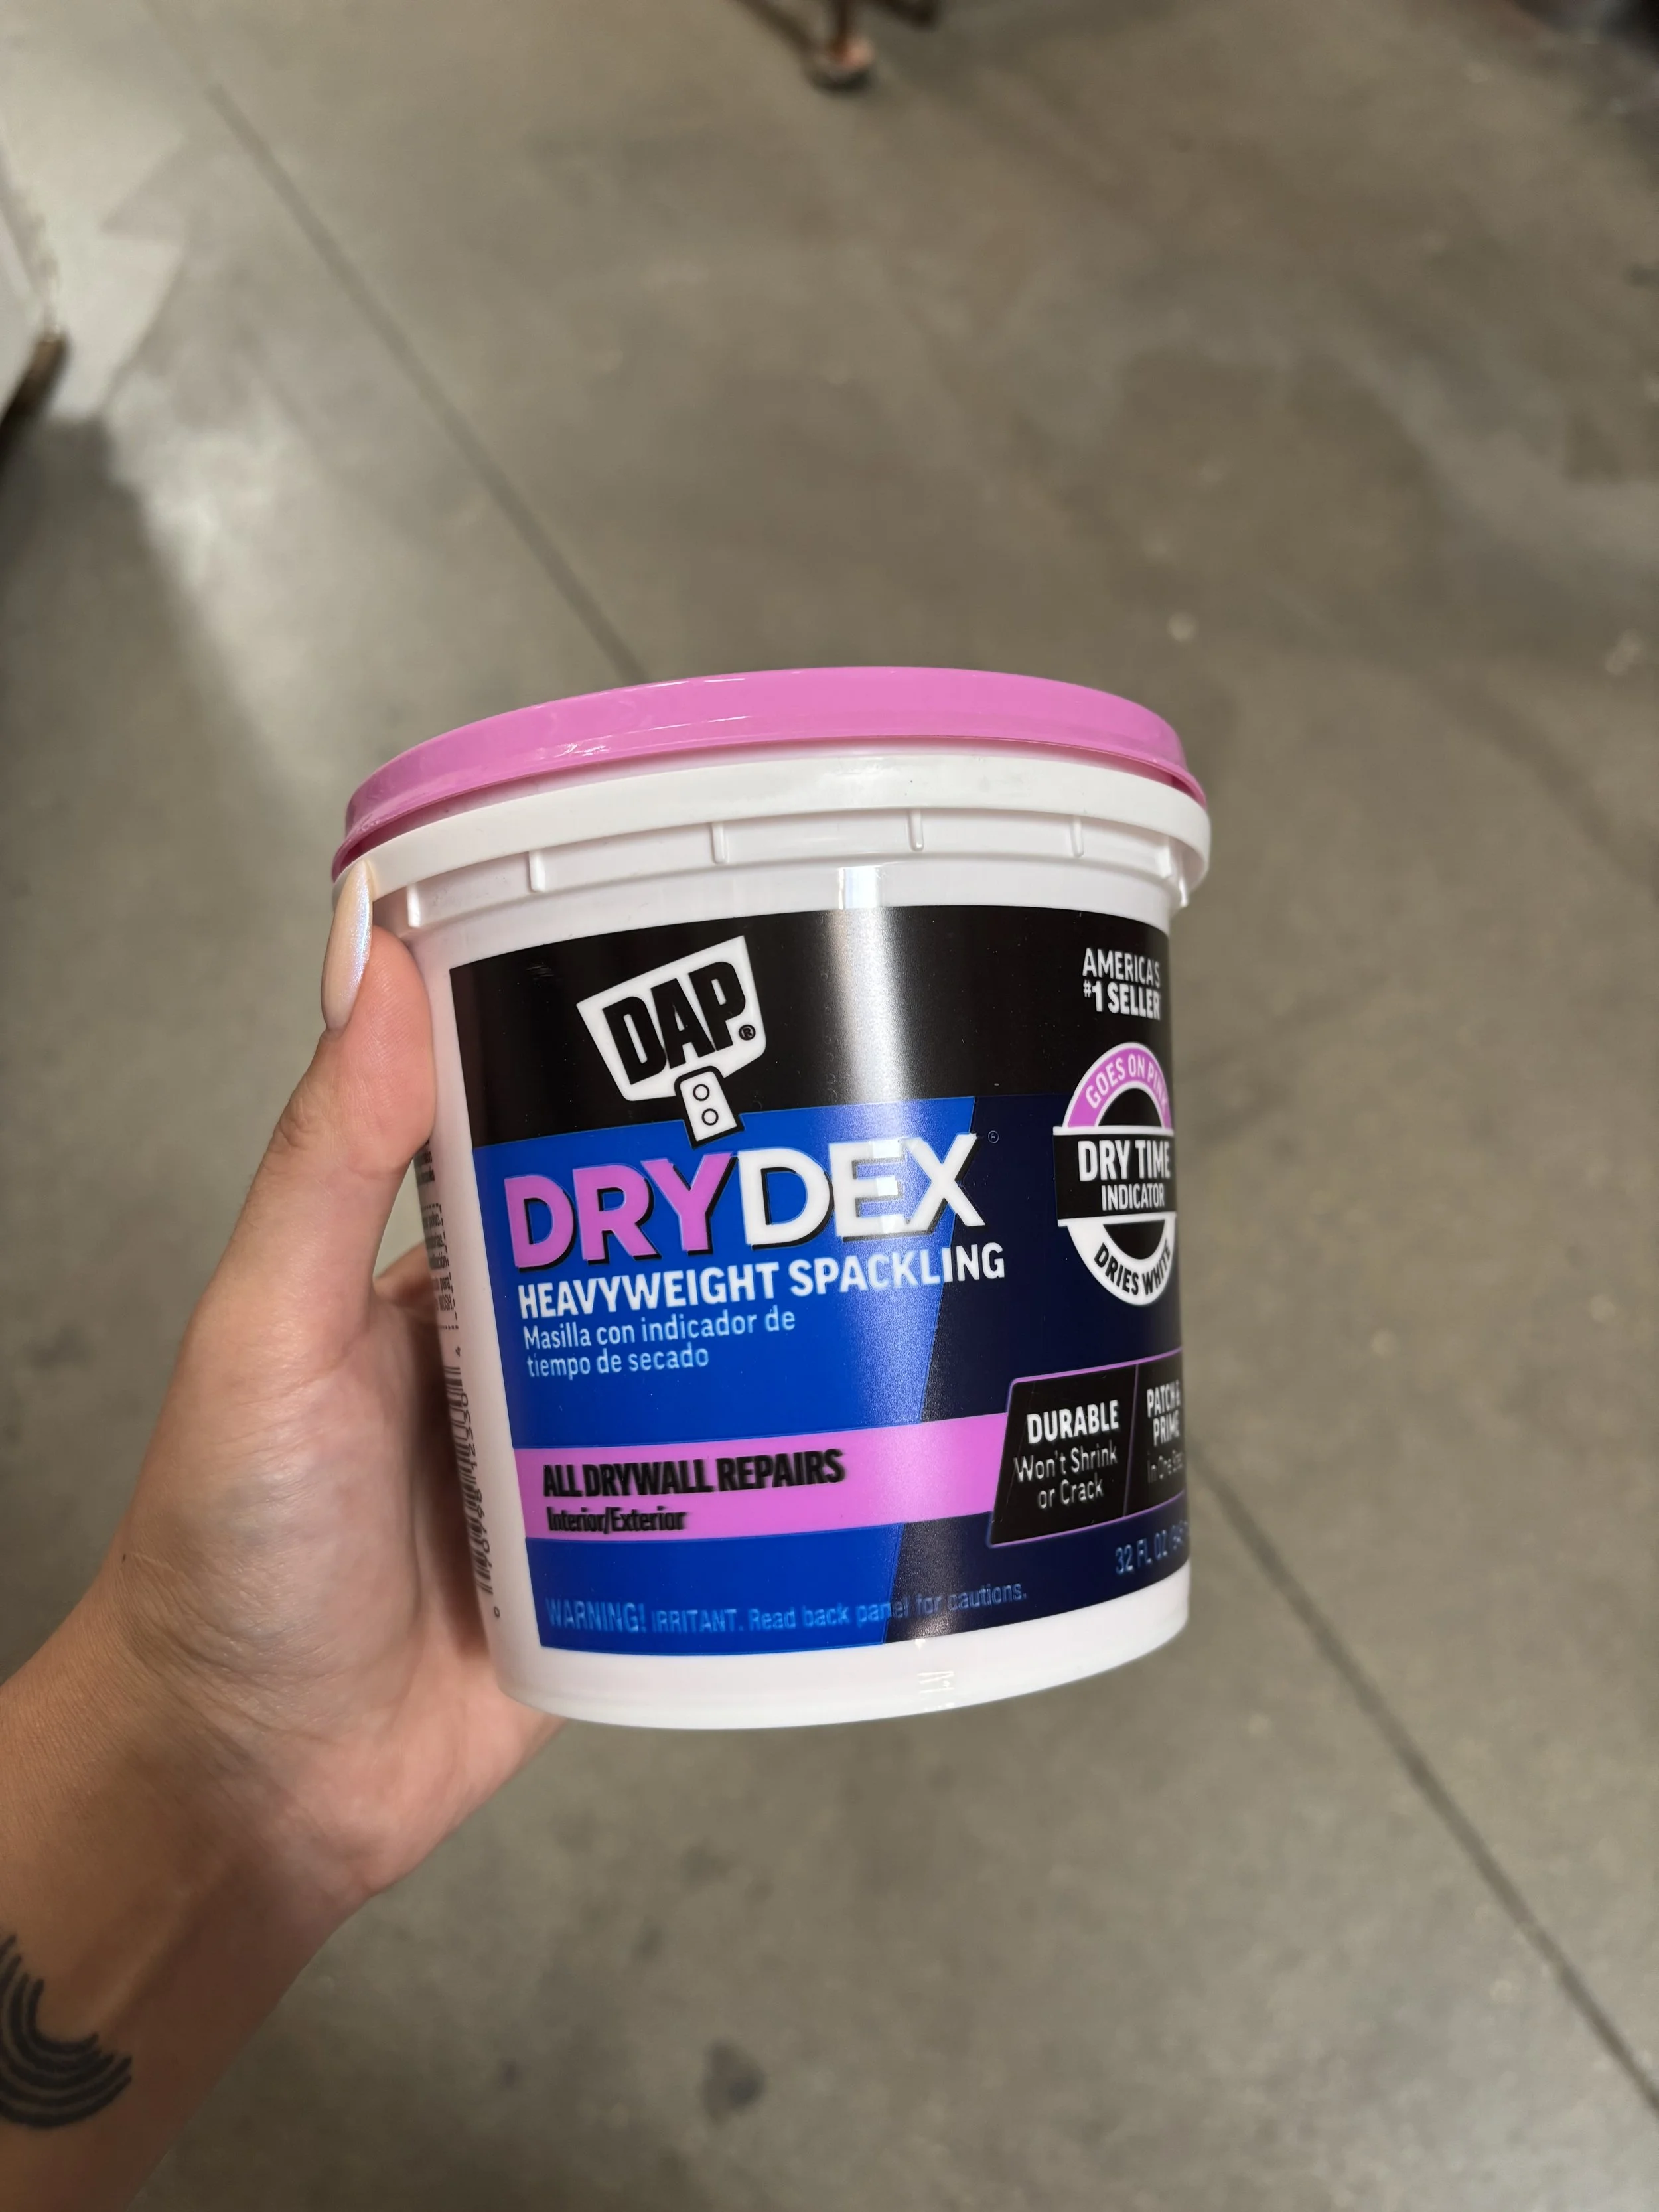
Spackle
-

Caulk and Caulk Gun
-
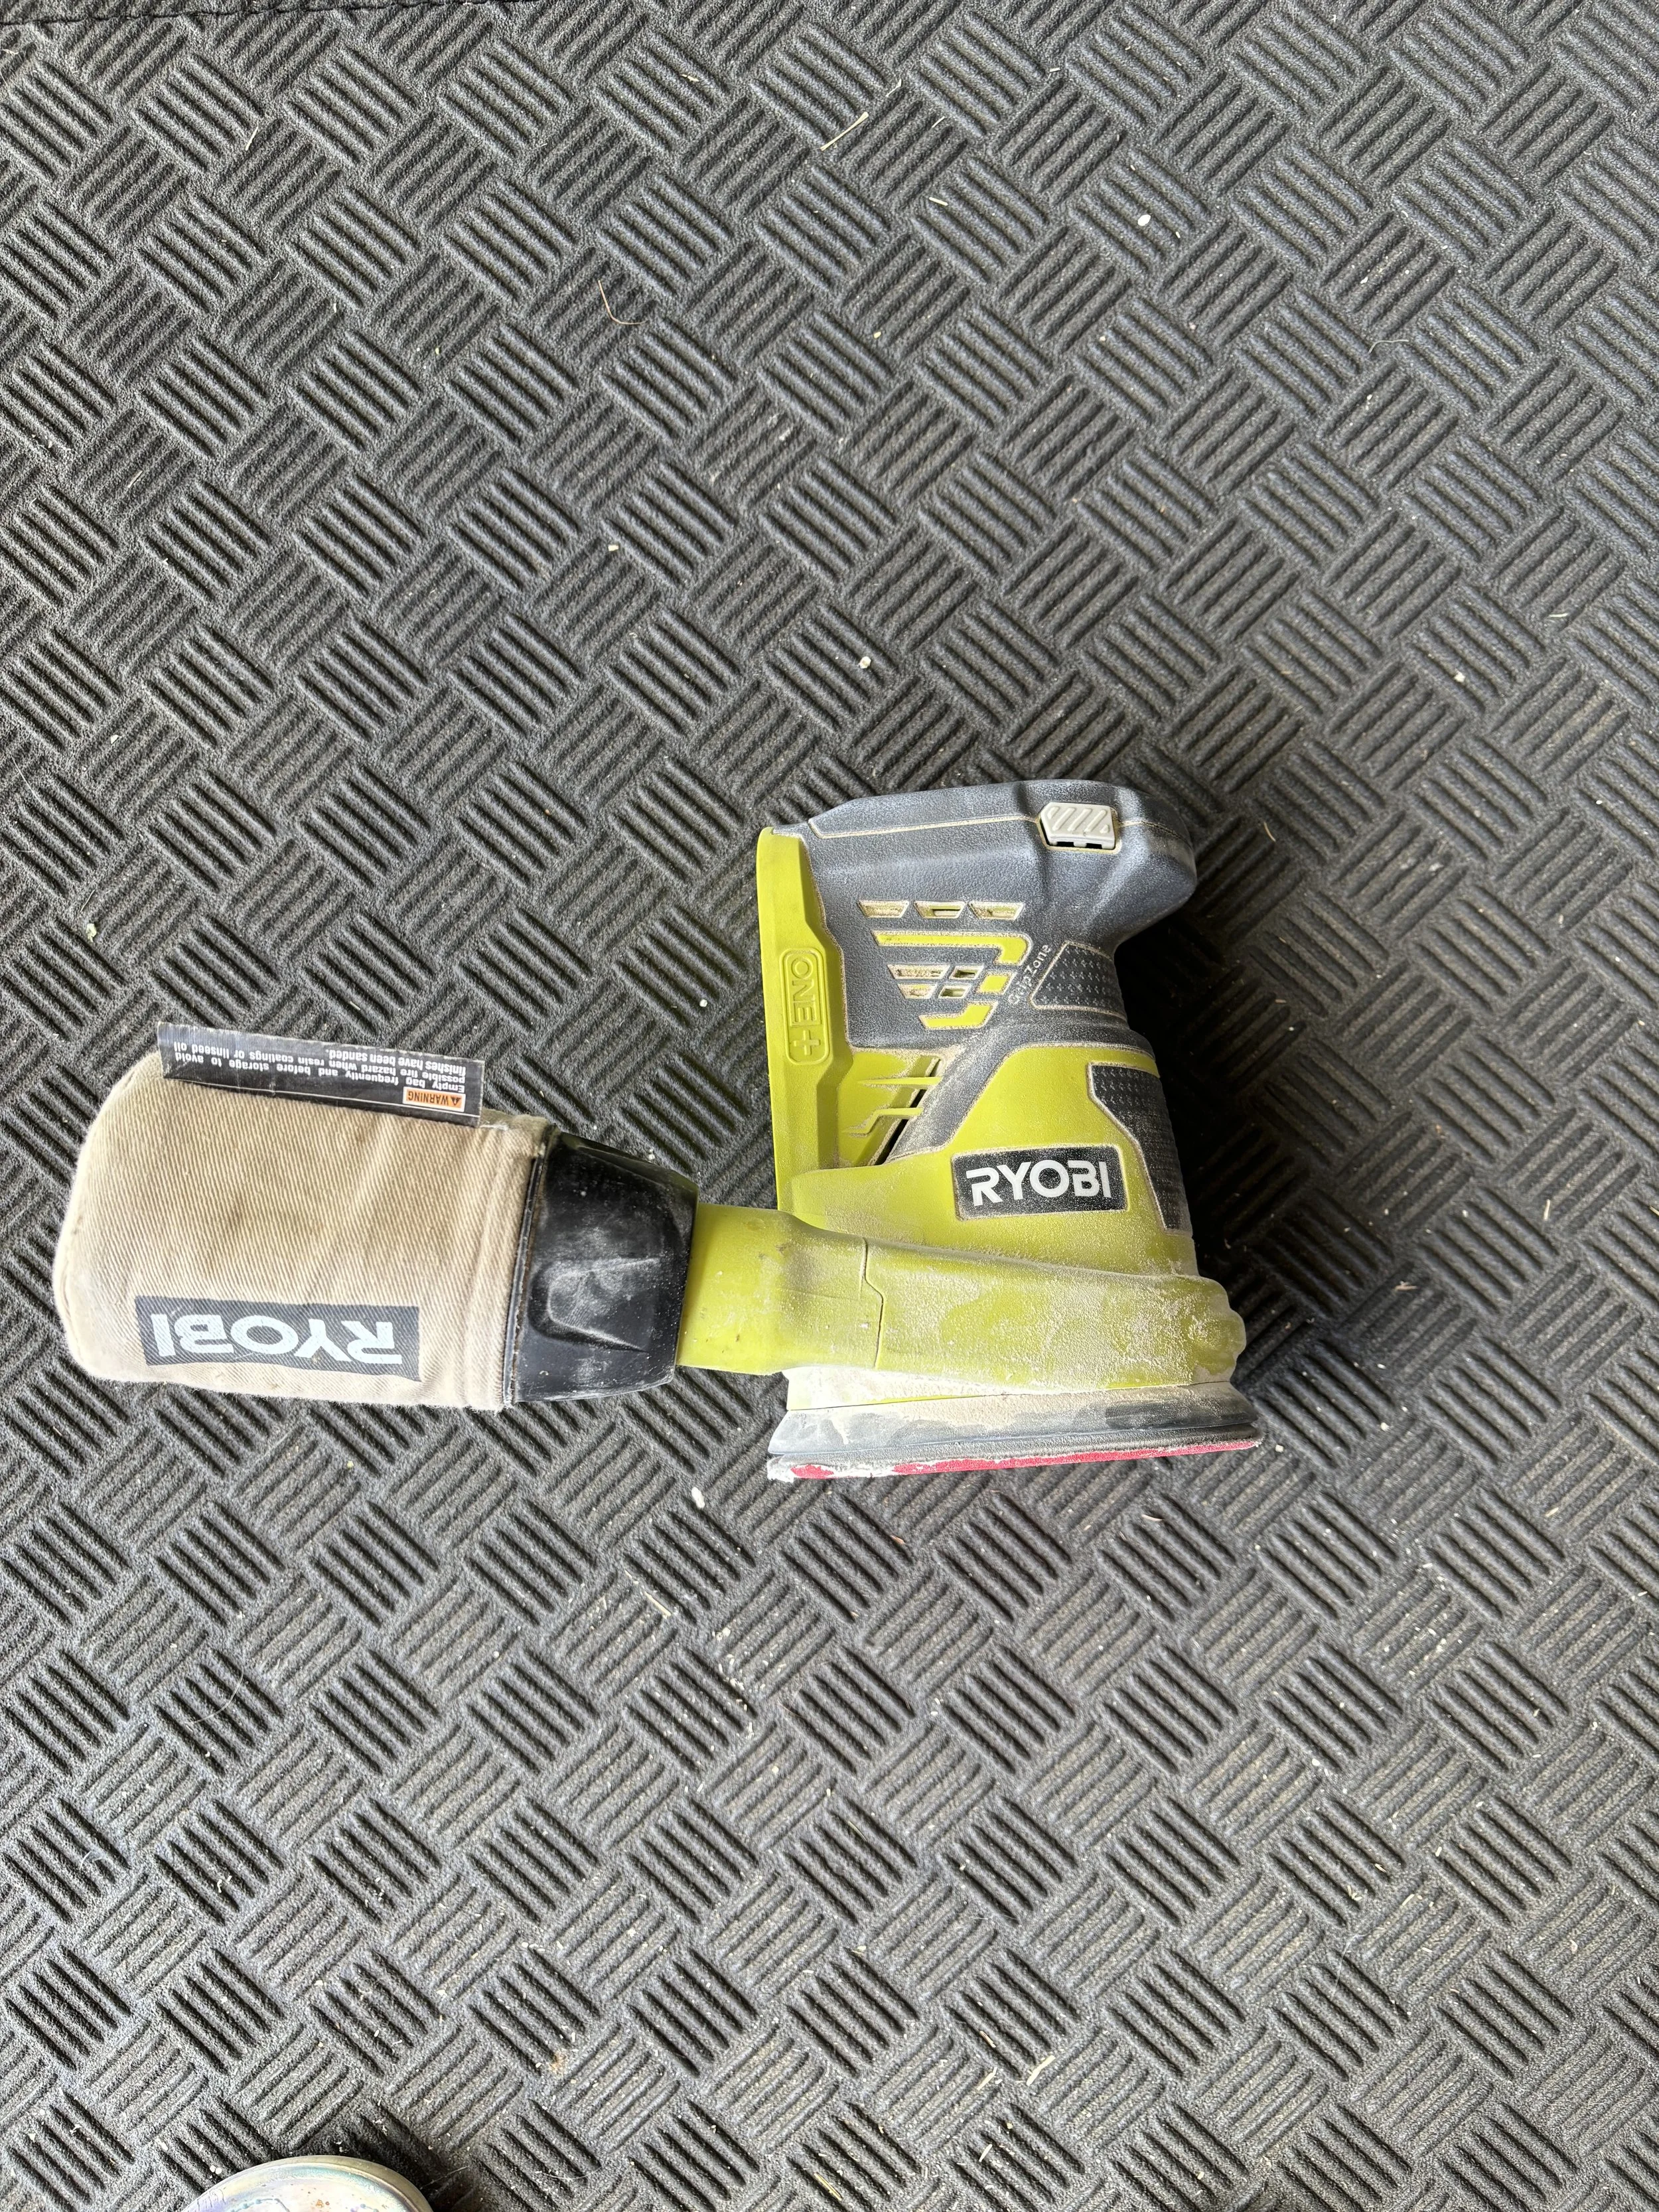
Sanding Tool
sandpaper, sanding block, or orbital sander
-
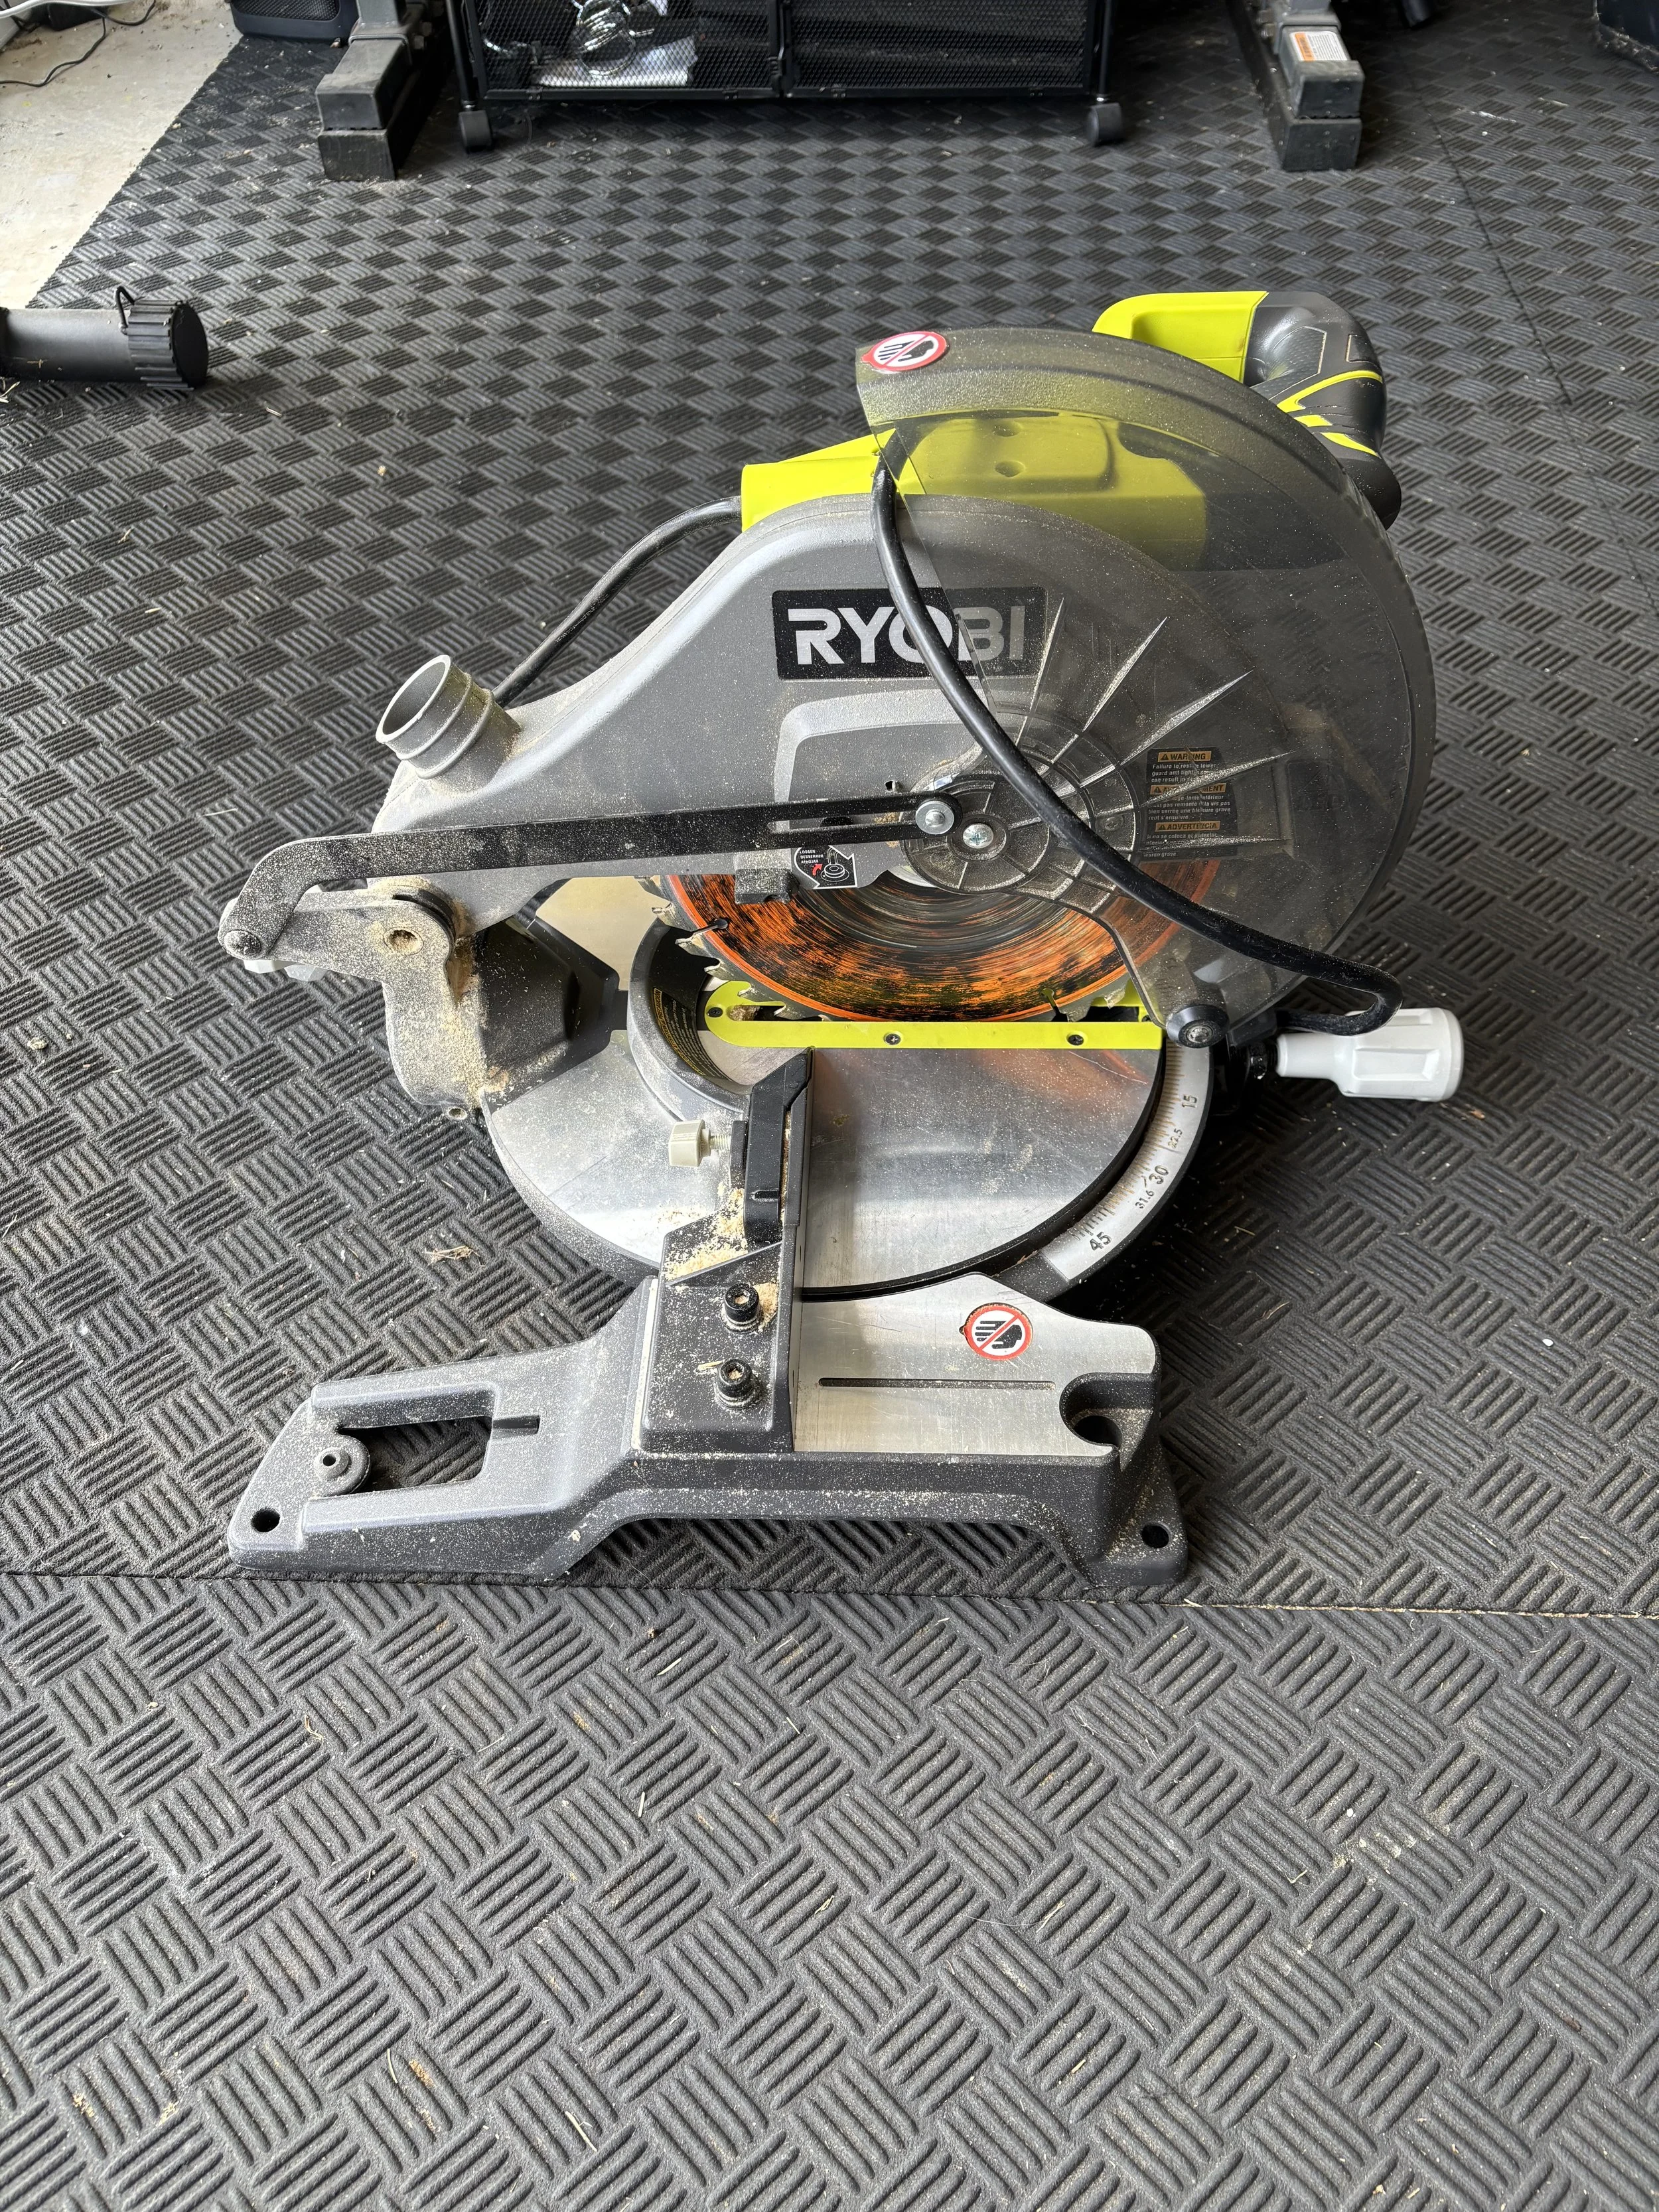
Miter Saw
You can also use a hand saw or have your boards cut at Home Depot or Lowe’s, but investing in your own saw will make projects like this much easier.
-

Paint of Your Choice
We chose the color Rainforest of the BEHR brand for our wall.
-

Painter's Tape
-

Drop Cloth
The Step-by-Step Process
Step 1: Plan & Prep
First things first—grab that measuring tape! Start by measuring your wall so you know what you’re working with. If you already have a design in mind, sketch it out. If not, no worries—sometimes the best results come from winging it! You can simply cut and place boards as you go, adjusting your design along the way. (That’s what we did, and honestly…it turned out gorgeous.)
Now for a little wall TLC:
Tape off your baseboards, ceiling edges, and adjoining walls.
Lay down a tarp to protect your floors.
Give your boards a light sanding before installation so you don’t end up with dusty streaks when it’s time to paint.
Step 2: Cut & Place Your Boards
Here’s where the magic begins! Using a miter saw, cut your first piece at a 45° angle. If it’s heading into a corner, cut the opposite end at the reverse 45° so it sits perfectly snug against the wall and baseboard.
💡 Pro Tip: Stick with simple 45° and 90° cuts—it keeps things easy and stress-free. A carpenter’s square is your BFF for keeping everything lined up. Now…confession time: we didn’t stick to that rule. 🙈 Laura is basically a math wizard and went wild with the angles, but unless you’re secretly a geometry genius, I’d recommend keeping it simple!
Once you’ve got your cut, here’s the rhythm:
Place your board on the wall where you’d like it.
Mark where the next board will meet.
Cut at your mark (usually a straight 0° cut).
Nail it in place!
Keep repeating—one board at a time—until your design comes together. Try to hit at least one stud per piece, but don’t stress too much; a few extra nails will keep everything nice and secure.
Step 3: Finishing Touches
Your wall is looking amazing, but let’s polish it up:
Fill nail holes with spackle.
Caulk the seams where boards meet the wall for that flawless, built-in look.
Sand smooth once it’s dry.
At this point, you’re ready for the fun part: paint! Some people like to pre-paint their boards, but we found painting everything afterward gave us the smoothest, most uniform finish.
Step 4: Paint & Enjoy!
Now the big reveal—paint your accent wall in the color of your dreams. Go bold and dramatic like we did, or keep it soft and subtle for a cozy vibe. Either way, once the paint dries, you’ll have a stunning, totally custom feature wall that makes your space feel brand new.
Stand back, admire your hard work, and get ready for all the compliments. 🥰


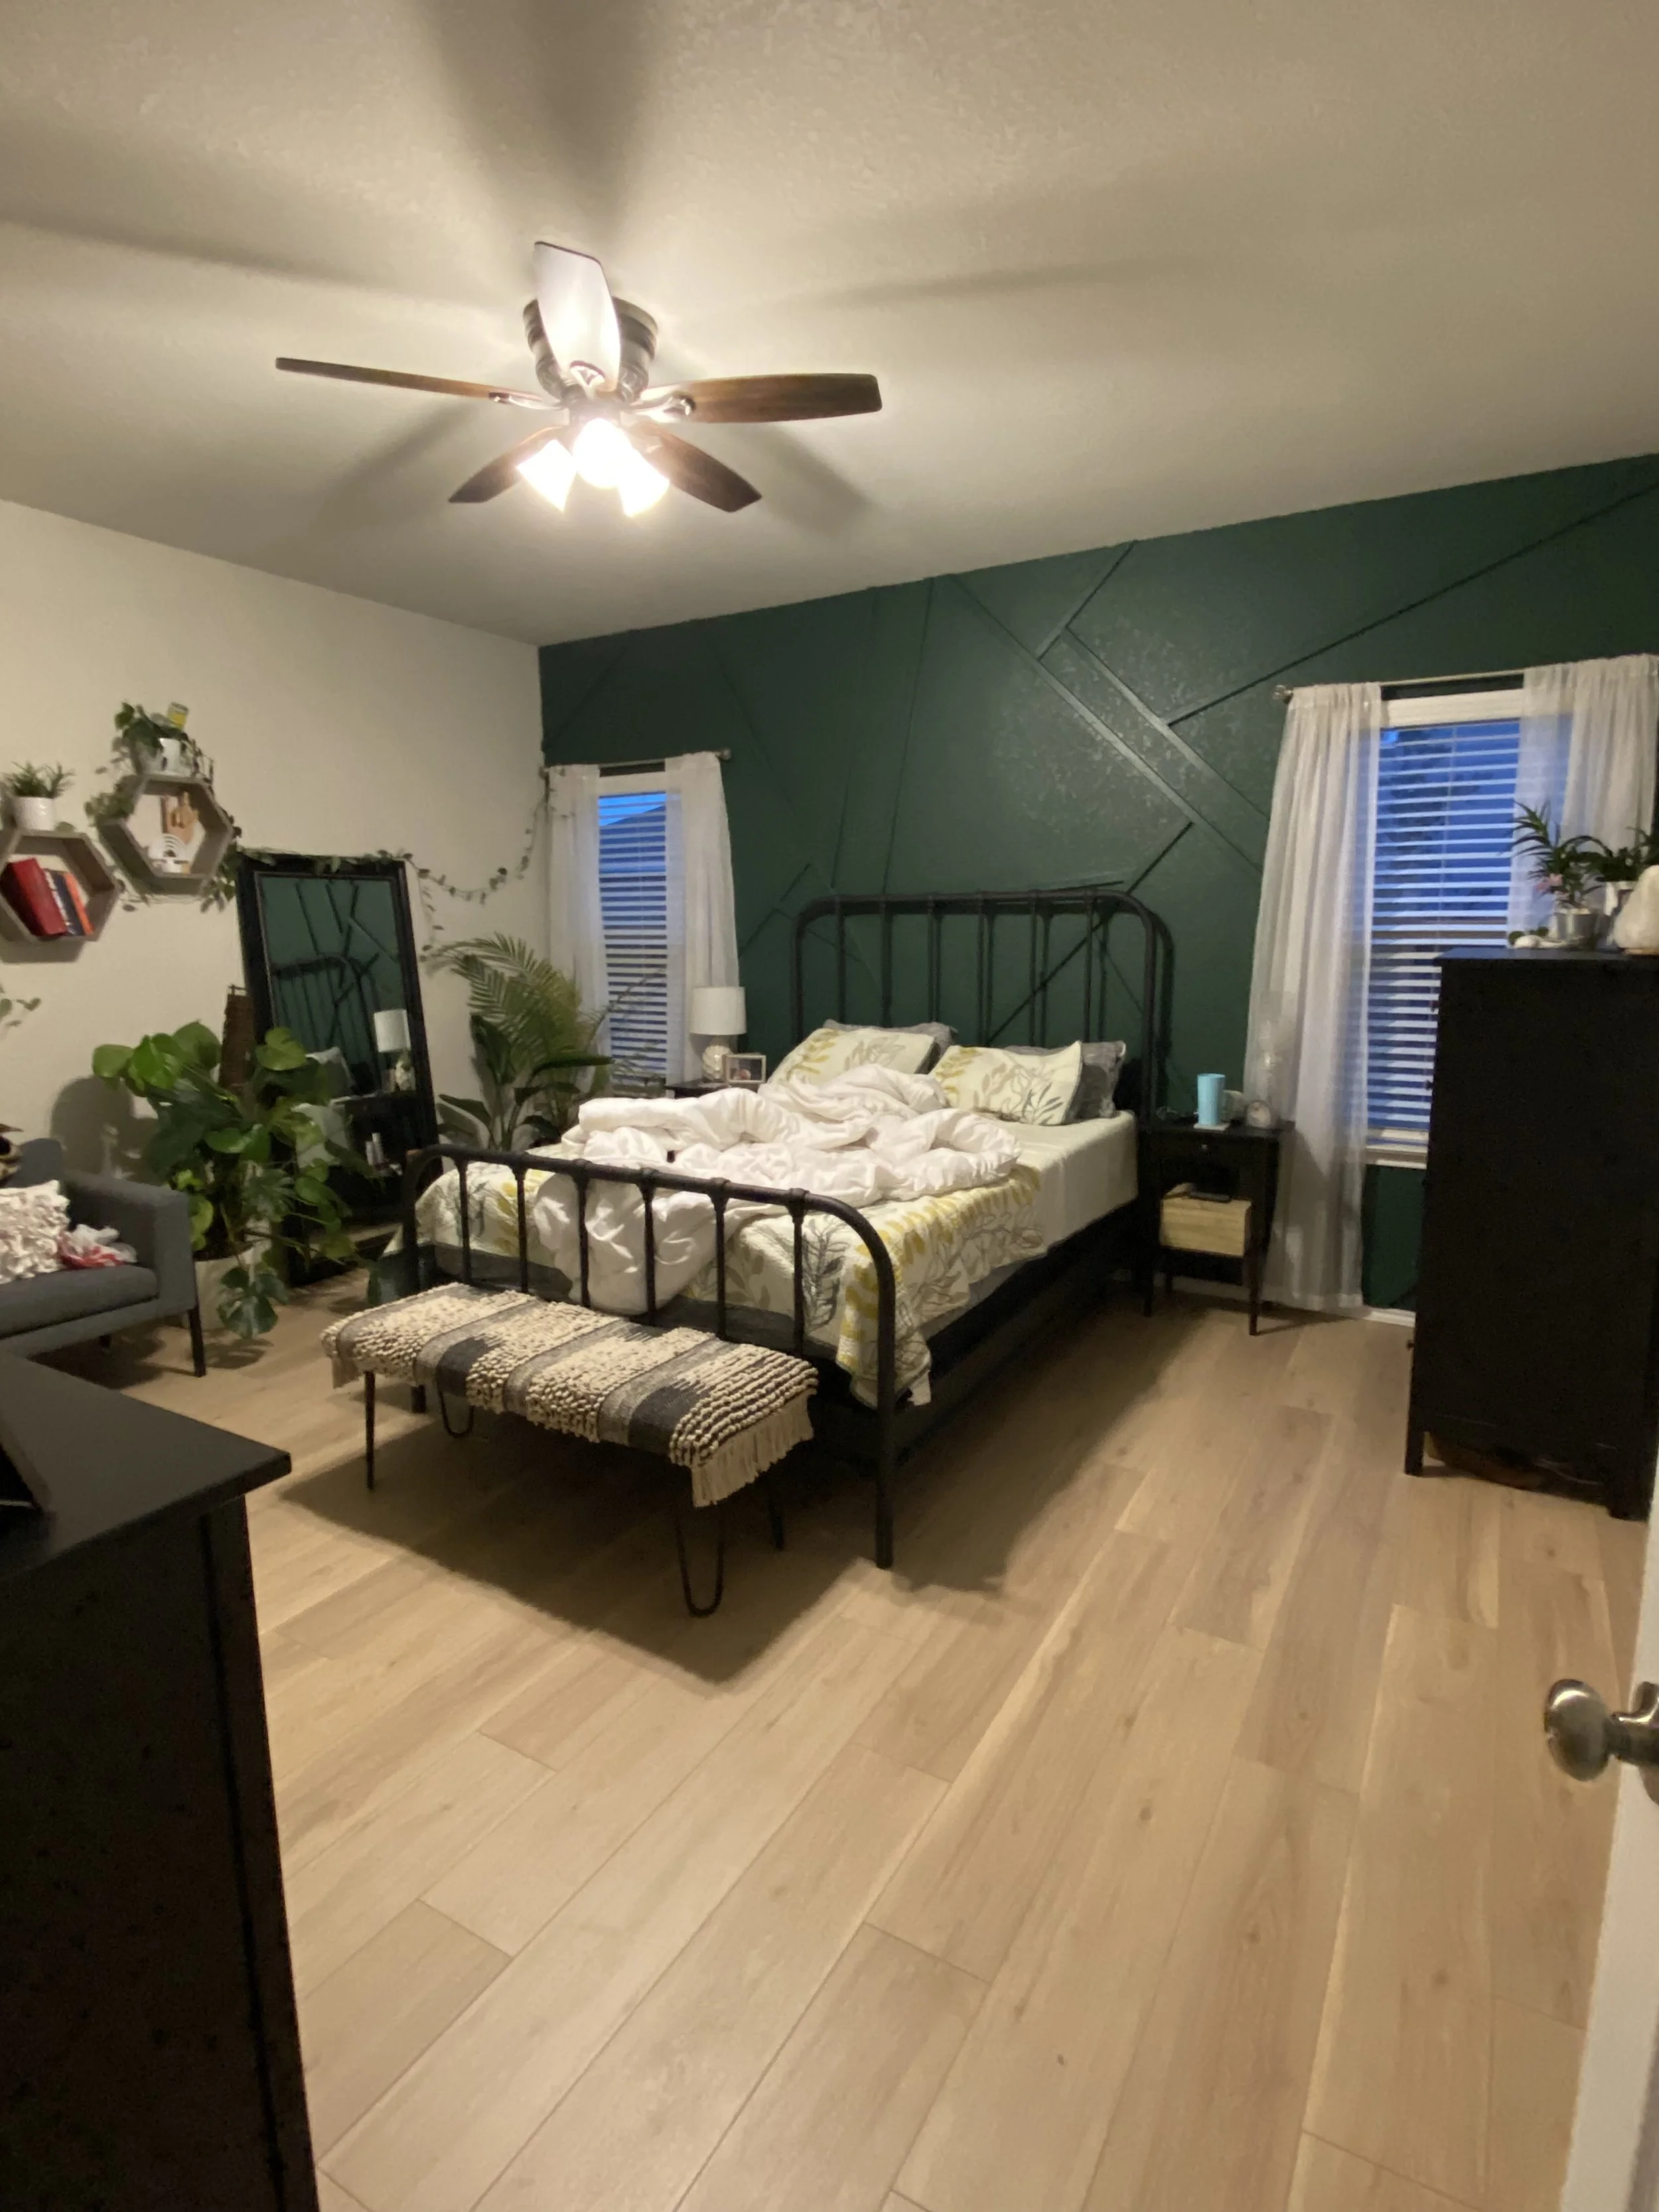
This geometric accent wall was the very first project we tackled in our home, and years later, we still love it—imperfections and all. Every wall will turn out a little differently depending on the size of your space and the design you create, but that’s exactly what makes it so personal and unique.
If you’re looking for a DIY project that blends creativity, craftsmanship, and a big visual payoff, this is one you’ll never regret.