DIY Faux Brick Wall Tutorial
Bring warmth, texture, and charm into your space—with just paint and sponges!
If you’ve landed here, you’re probably dreaming of a cozy, rustic faux brick wall without the hassle (or expense) of real brick. Well, lucky for you, we’ve done all the trial and error and are here to walk you through the process step by step. Grab your sponges, paints, and creativity—let’s get to it!

Materials You’ll Need
-

Sponges
-

Wall Paint Colors
3-4 Shades of your choice
-
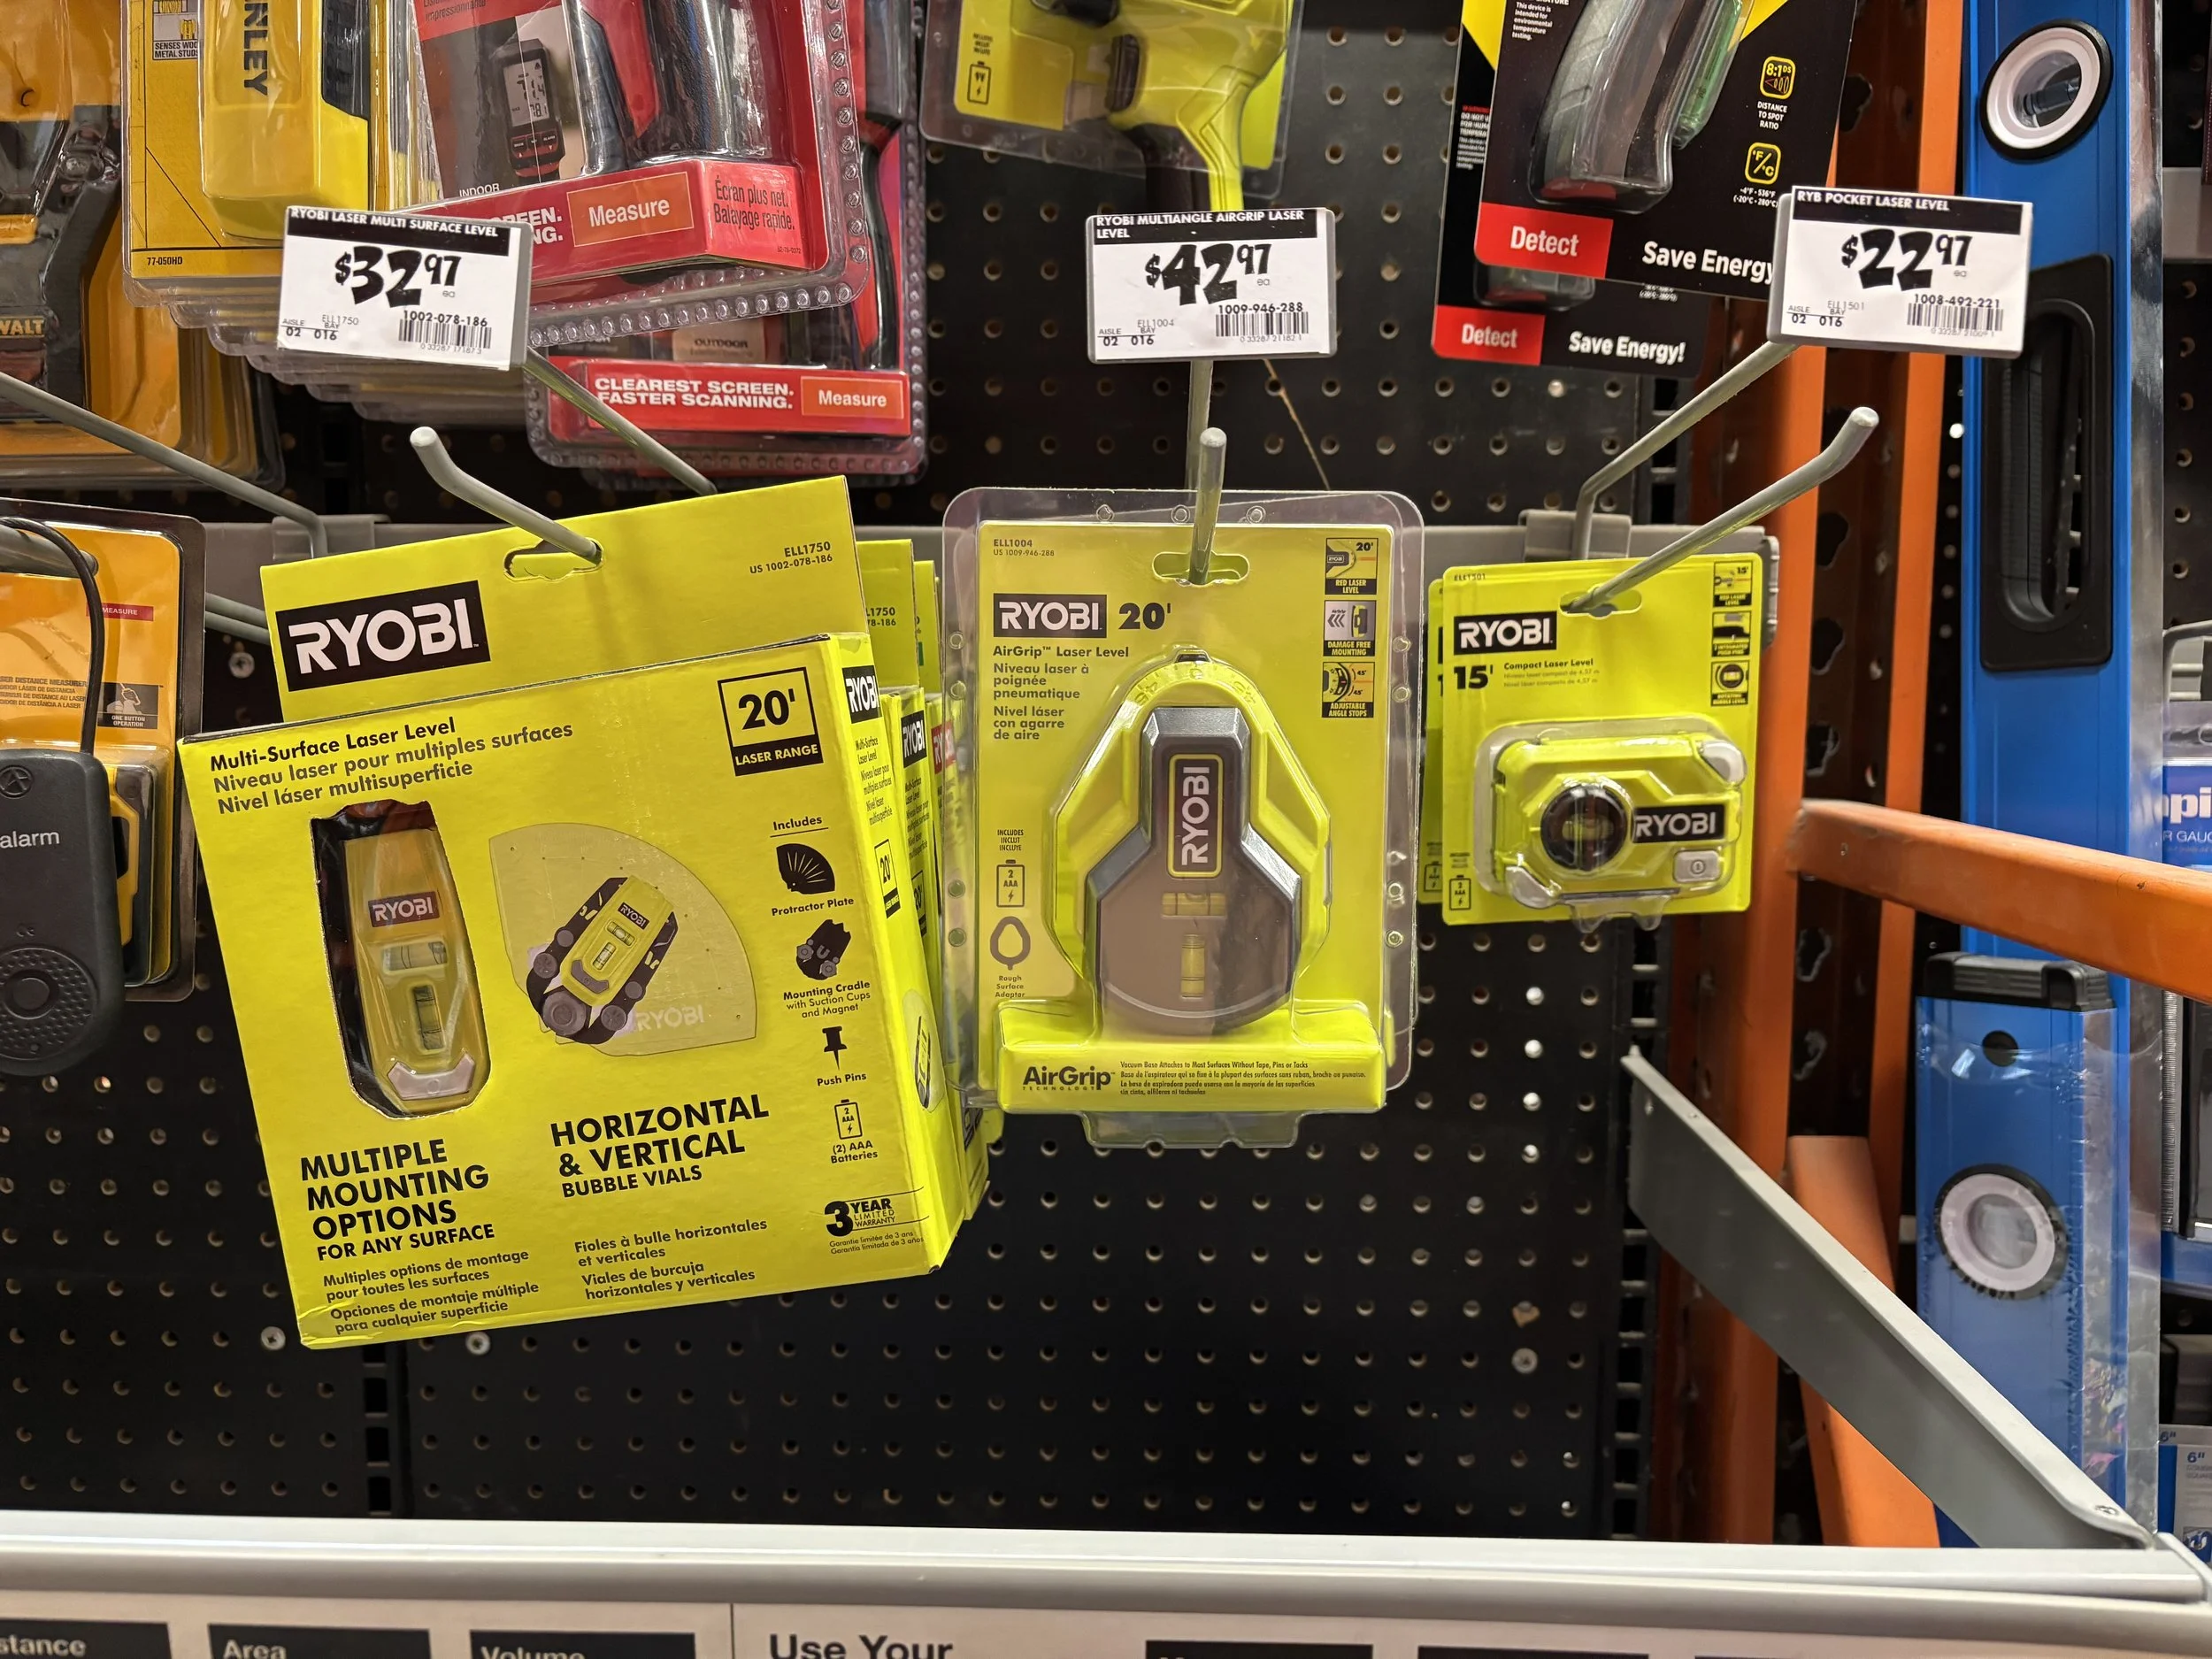
Laser Leveler
-

Drop Cloth
-

Paint Trays
You can choose to use paint trays, disposable baking pans, or foam plates
-

Painter's Tape

Step 1: Choosing Your Colors
We went with four Behr flat finish paints in warm, neutral tones to complement our dining area:
Canyon Dusk
Irish Cream
Burnt Almond
Crème de Caramel
Why flat finish? Since this is a dining space, we didn’t need the extra shine or durability of eggshell or gloss. But feel free to choose whatever finish works best for your project.
✨ Pro Tip: If your wall color is already light (ours was a neutral light grey), you can skip priming. But if your wall is dark, start by painting it a lighter base color.
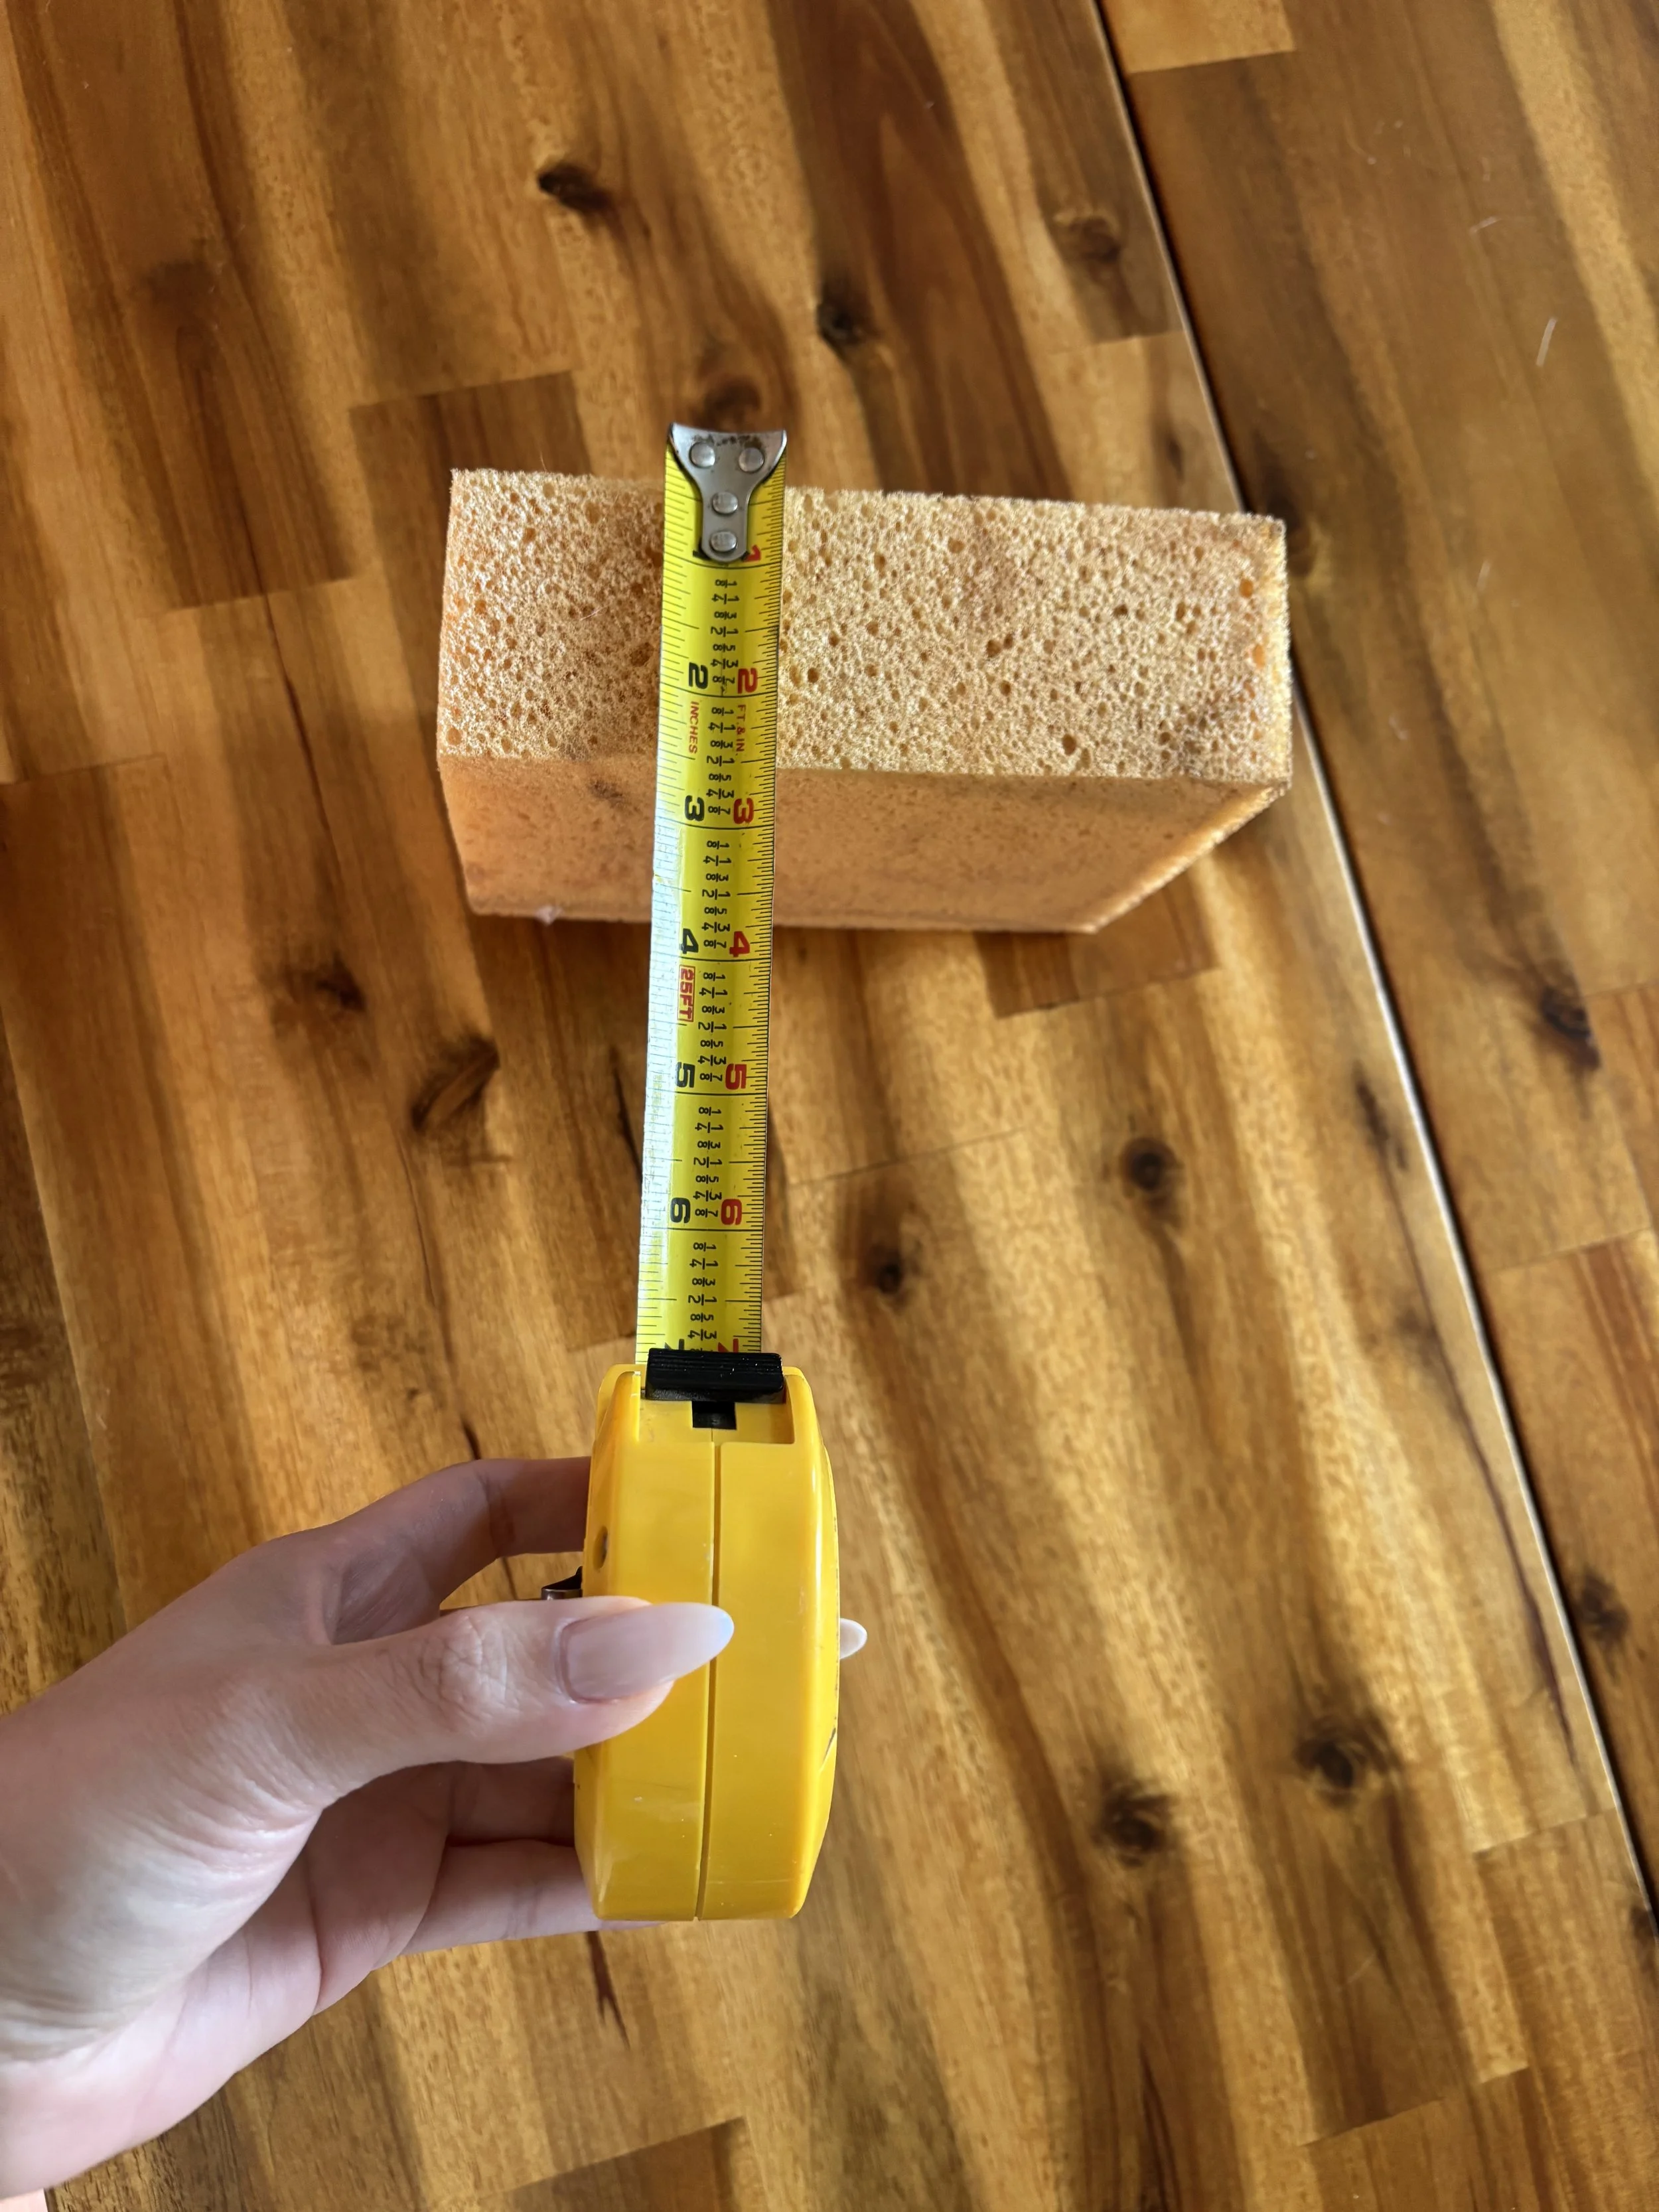
Step 2: Measuring & Planning
Accuracy is everything here! Start by measuring your wall, sponge height, and the spacing between each row of “bricks.”
Our rows were about 3 inches apart (top of brick to top of brick).
This left ¾ inch gaps between each brick.
🔑 Don’t wing it—without straight guidelines, you’ll end up with a crooked or uneven wall.

Step 3: Keeping It Straight
This is where your laser leveler comes in. Ours attached to the wall with thumbtacks, but the tacks kept falling out, so we reinforced with tape (a bit of a headache!).
👉 We recommend using a secure, wall-mounted leveler that spans the entire wall—it’ll save you time and frustration.
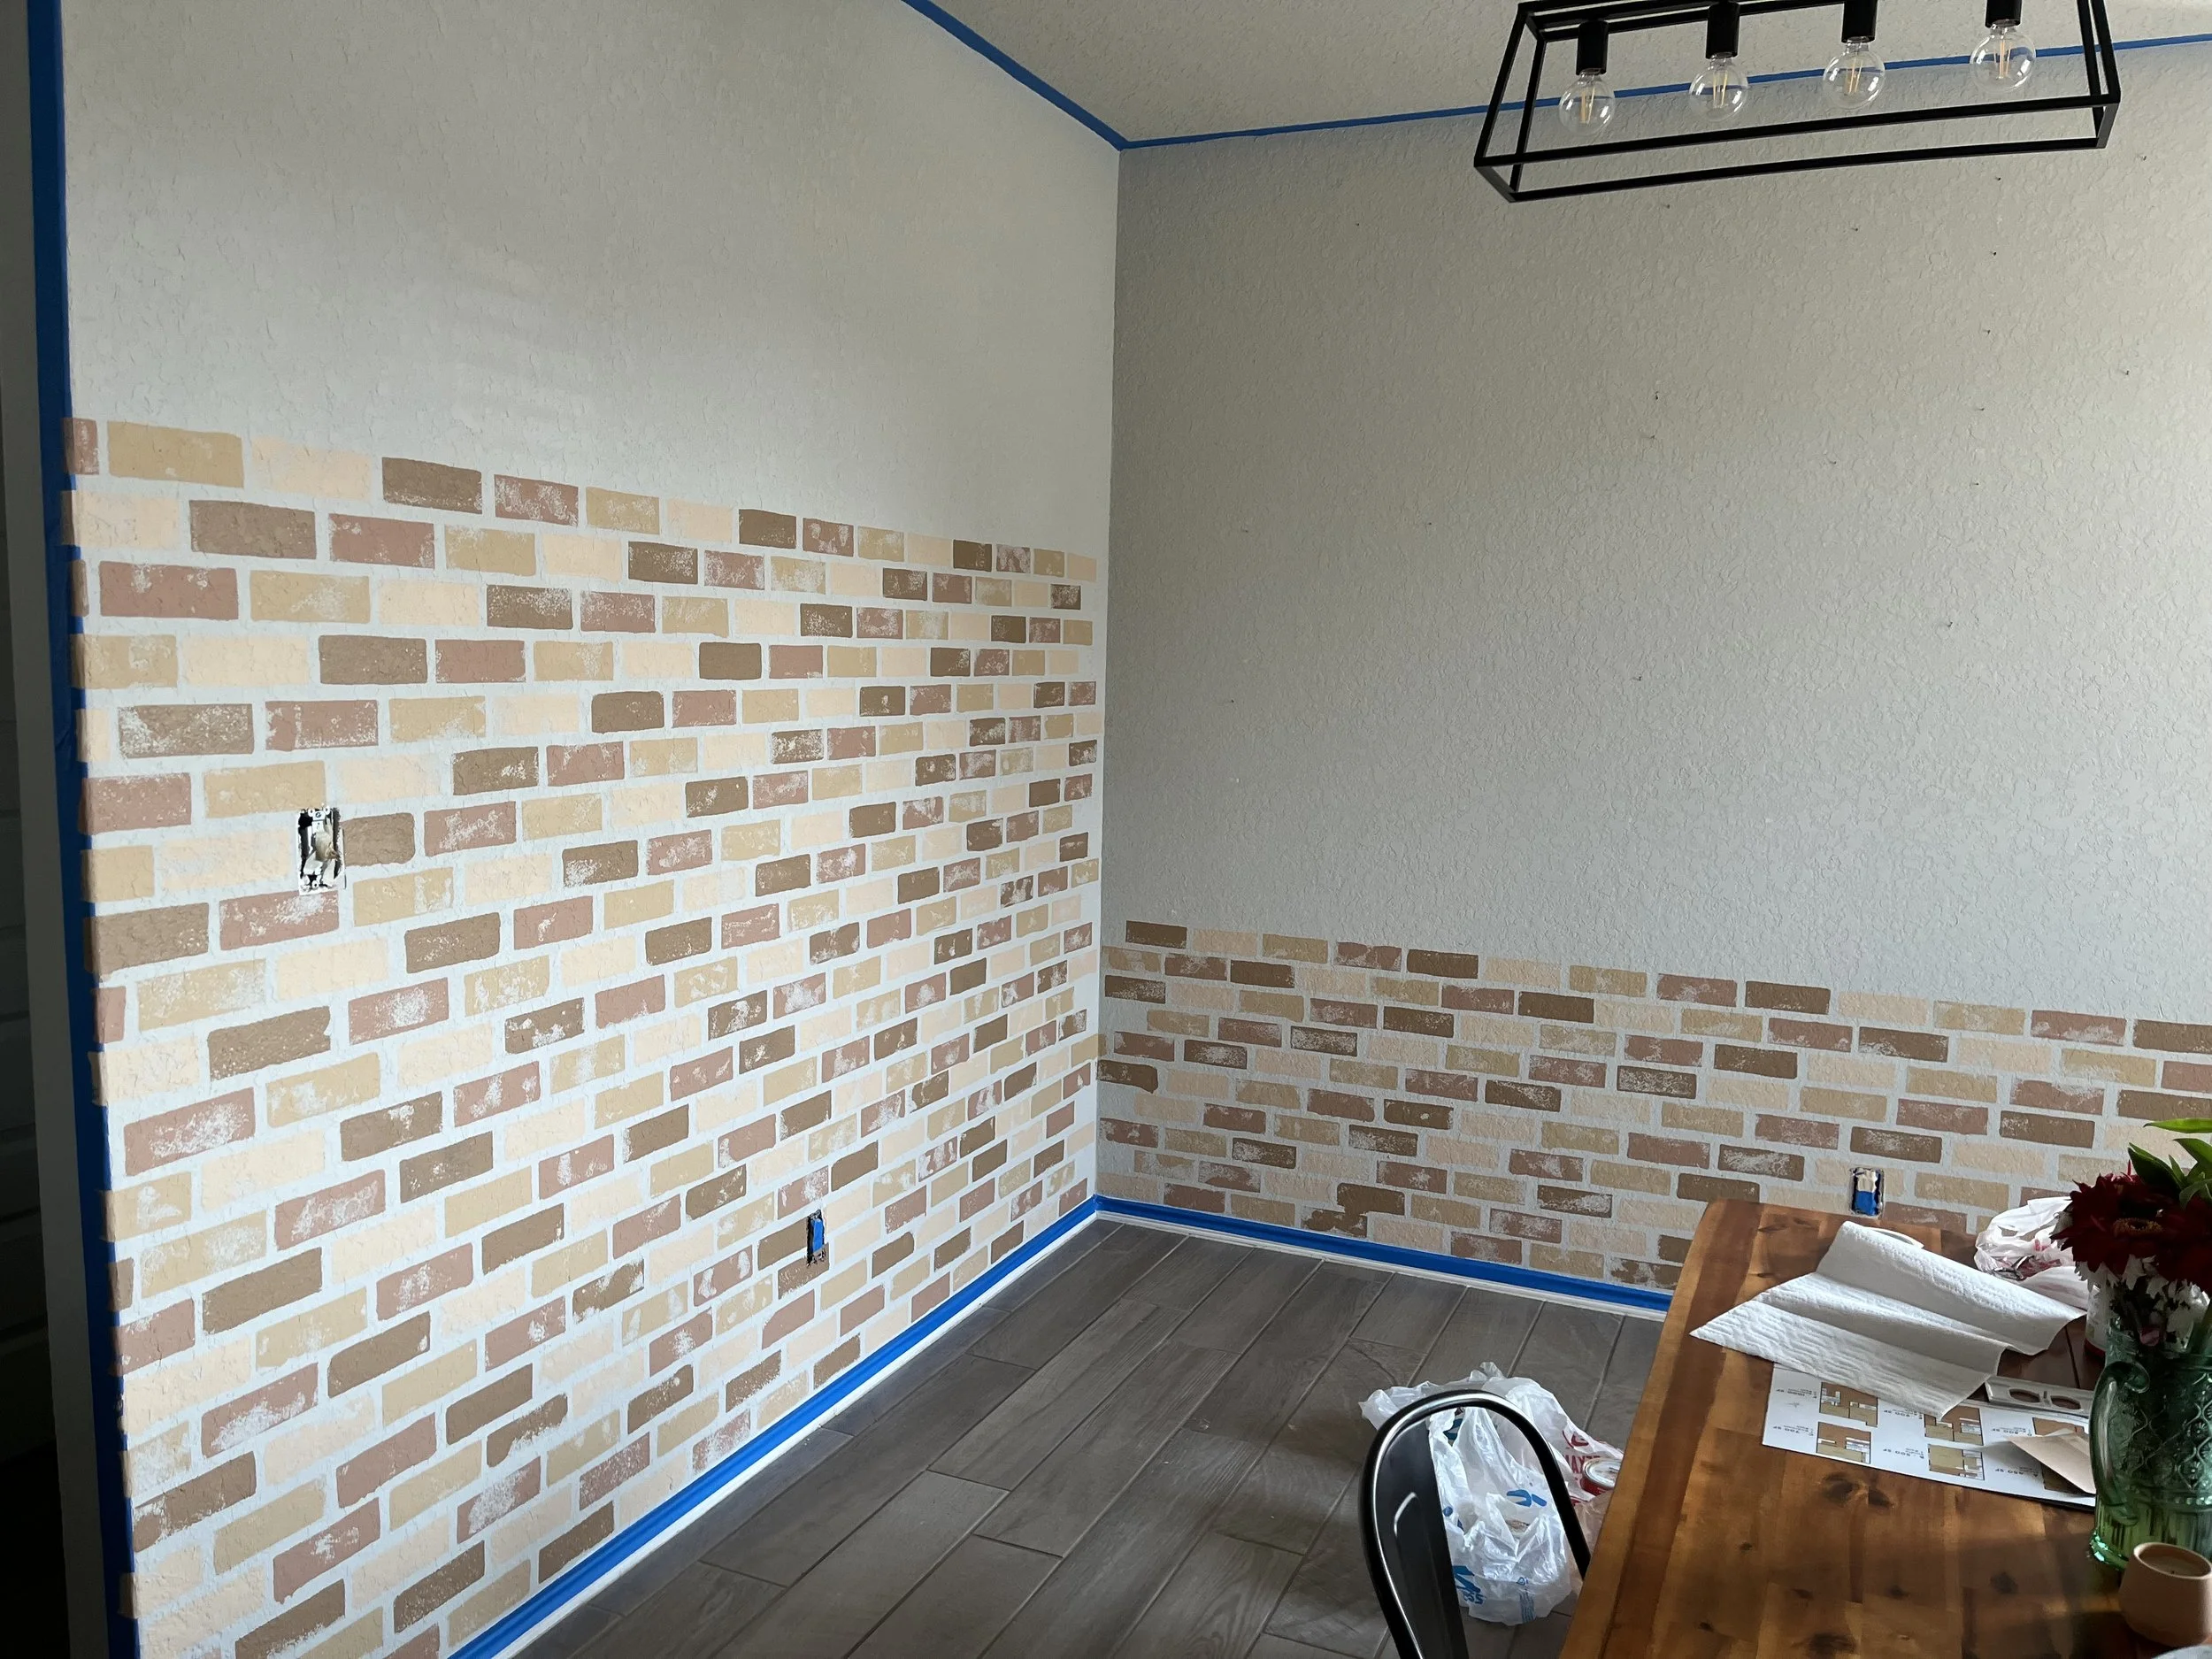
Line up the laser to mark the top or bottom of your sponge rows. For the vertical spacing between bricks, we did choose to “wing it”—but made sure to create a staggered brick pattern by starting every other row with a half or whole brick.
Step 4: Sponge & Paint!
Now the fun begins:
Tape your baseboards.
Lay down your drop cloth.
Pour each paint color into its own tray, plate, or baking pan.
Dip your sponge, dab off excess, and start stamping your “bricks.”
⚠️ Important: Don’t use colors in a strict order! That creates an obvious pattern. We made this mistake at first, then corrected it midway. Mixing up your colors keeps the wall looking natural.


Step 5: The Finishing Touch—Whitewash
After several days of sponge-stamping, we stepped back and… weren’t totally in love. The wall felt too warm for our space.
Solution? Whitewash!
We mixed a 2:1 ratio of water to Sherwin Williams Agreeable Grey and brushed it over the entire faux brick wall. The result? A softer, cooler, more cohesive look that instantly tied everything together. Now we’re in love!
Final Thoughts
At the end of this project, you’ll have more than just a wall—you’ll have a piece of art made with your own two hands. It’s the kind of feature that everyone will admire when they walk into your home, and more importantly, it’s one that will bring you joy every single day.
So go ahead—embrace your inner DIY Queens, Kings, and Nonbinary Royalty 👑. Your faux brick masterpiece awaits!
Scroll to See the Before and After Pictures
-
![]()
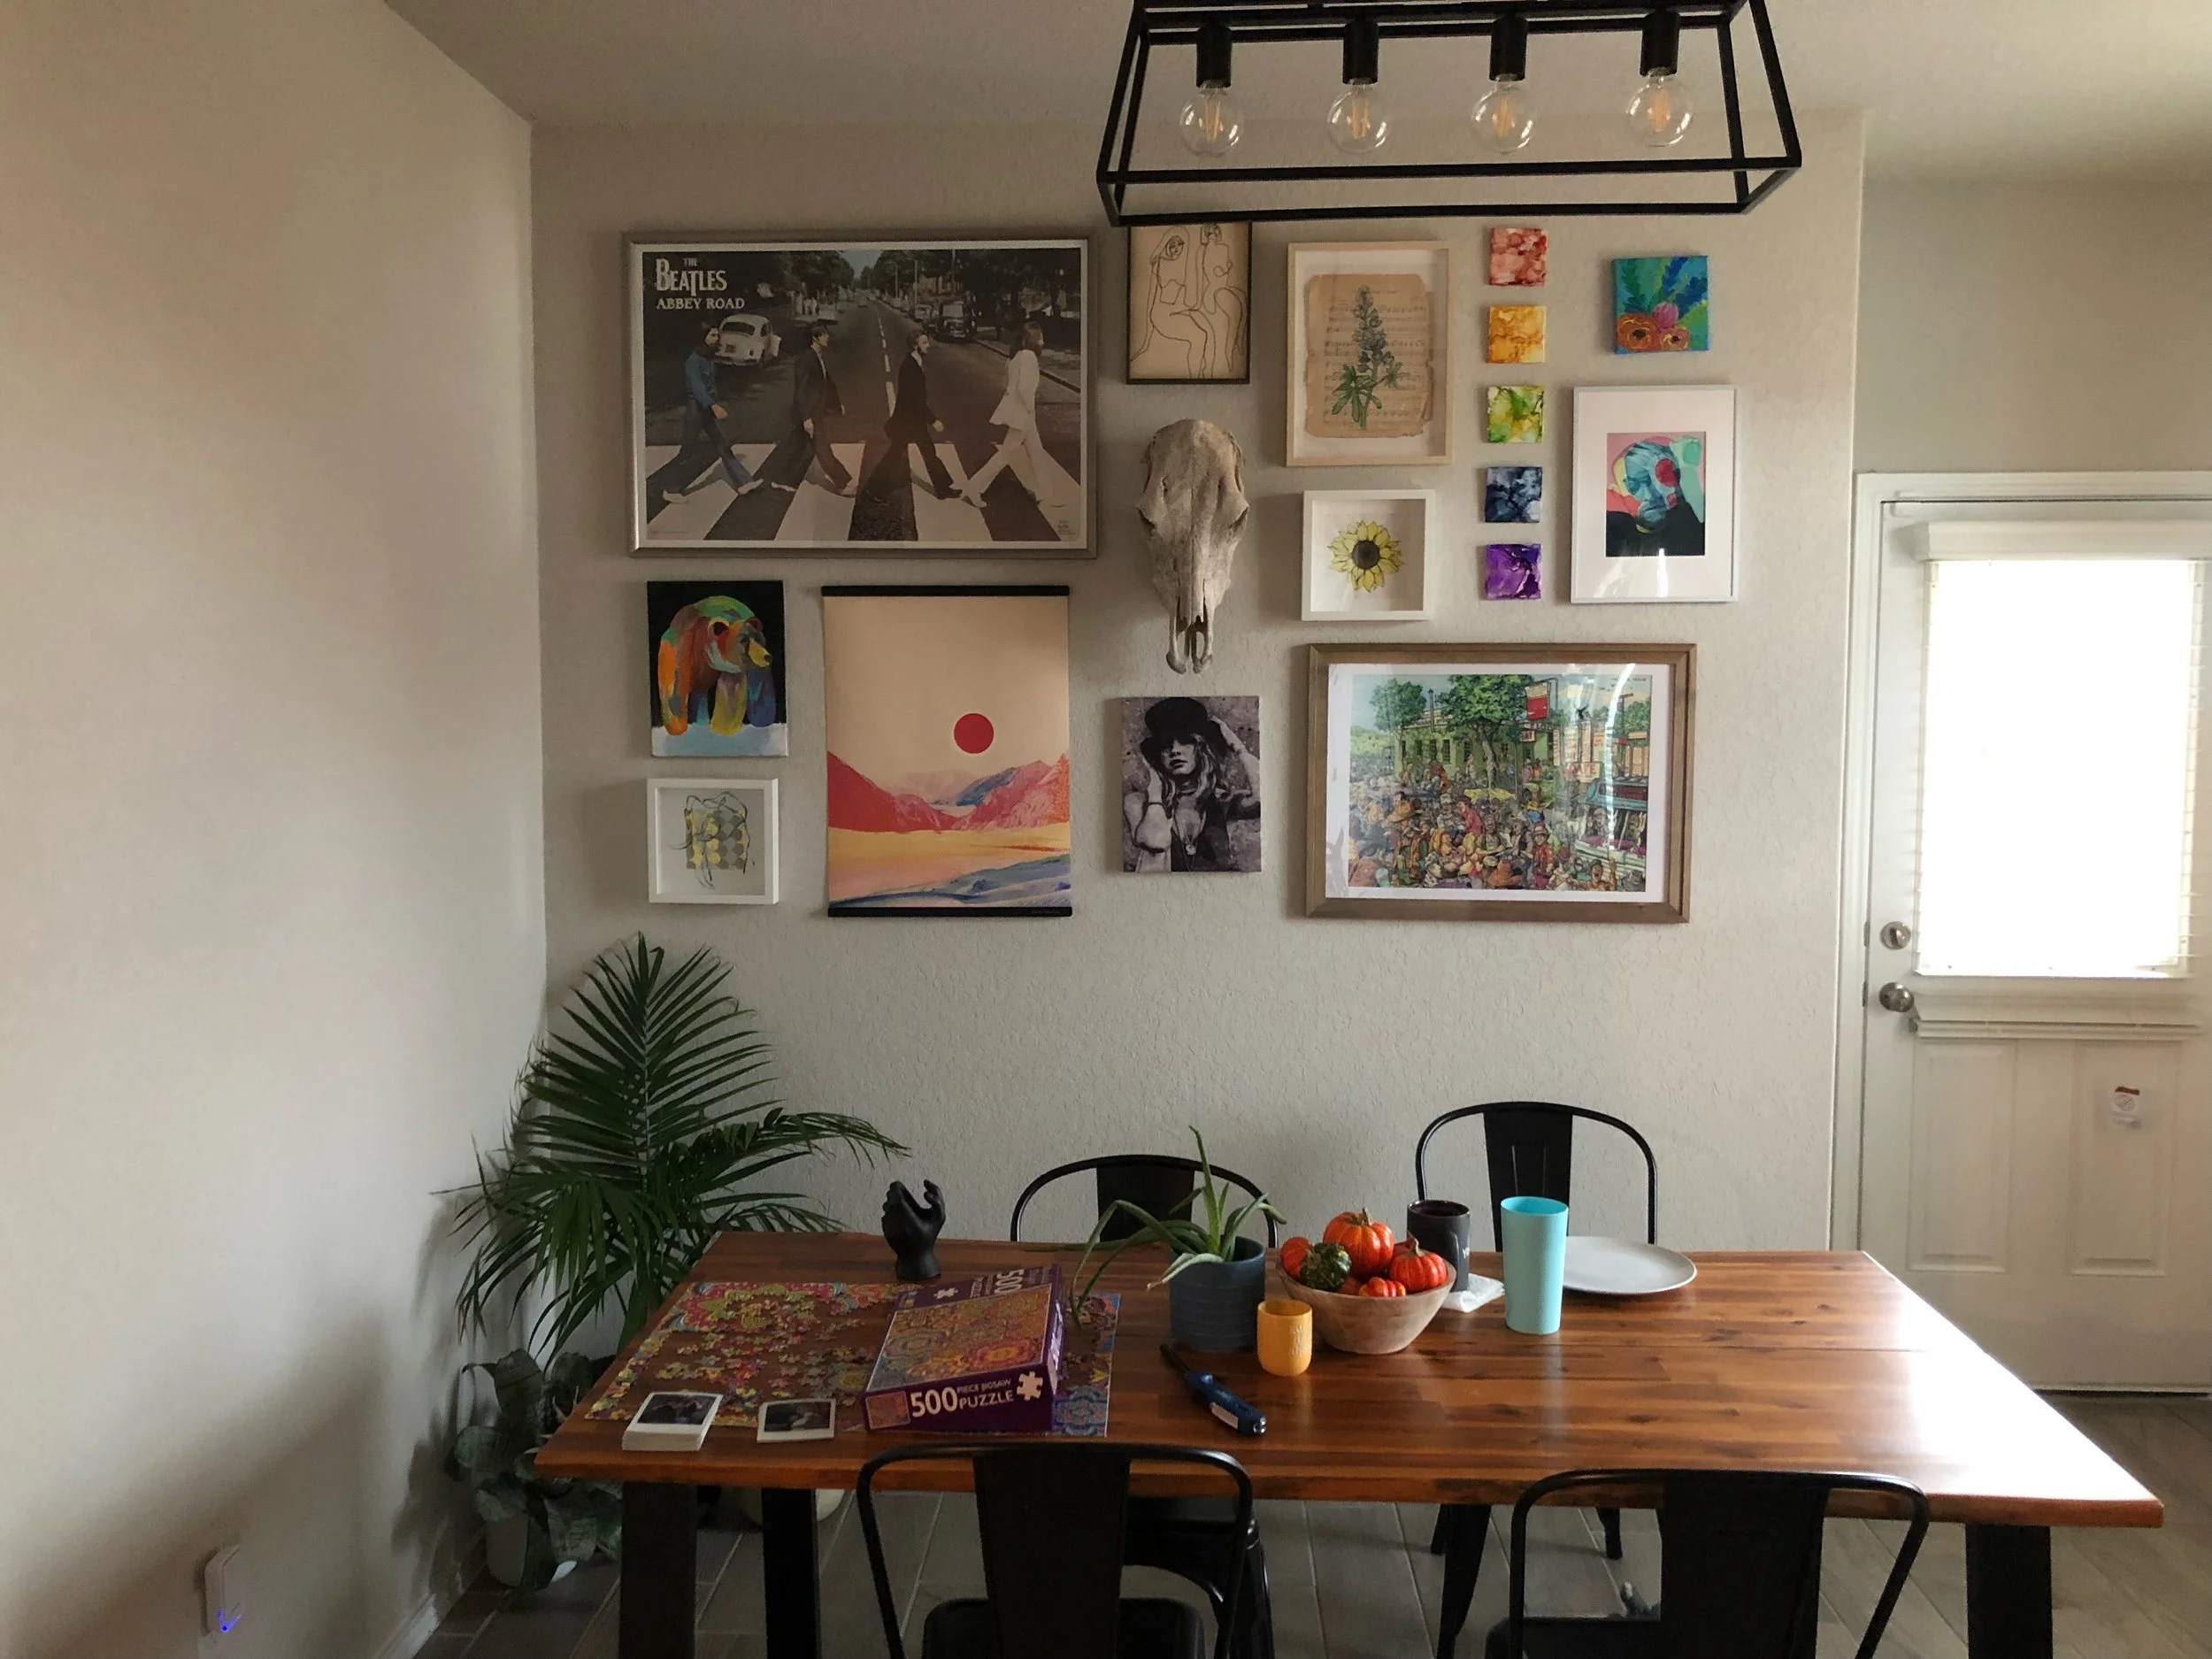
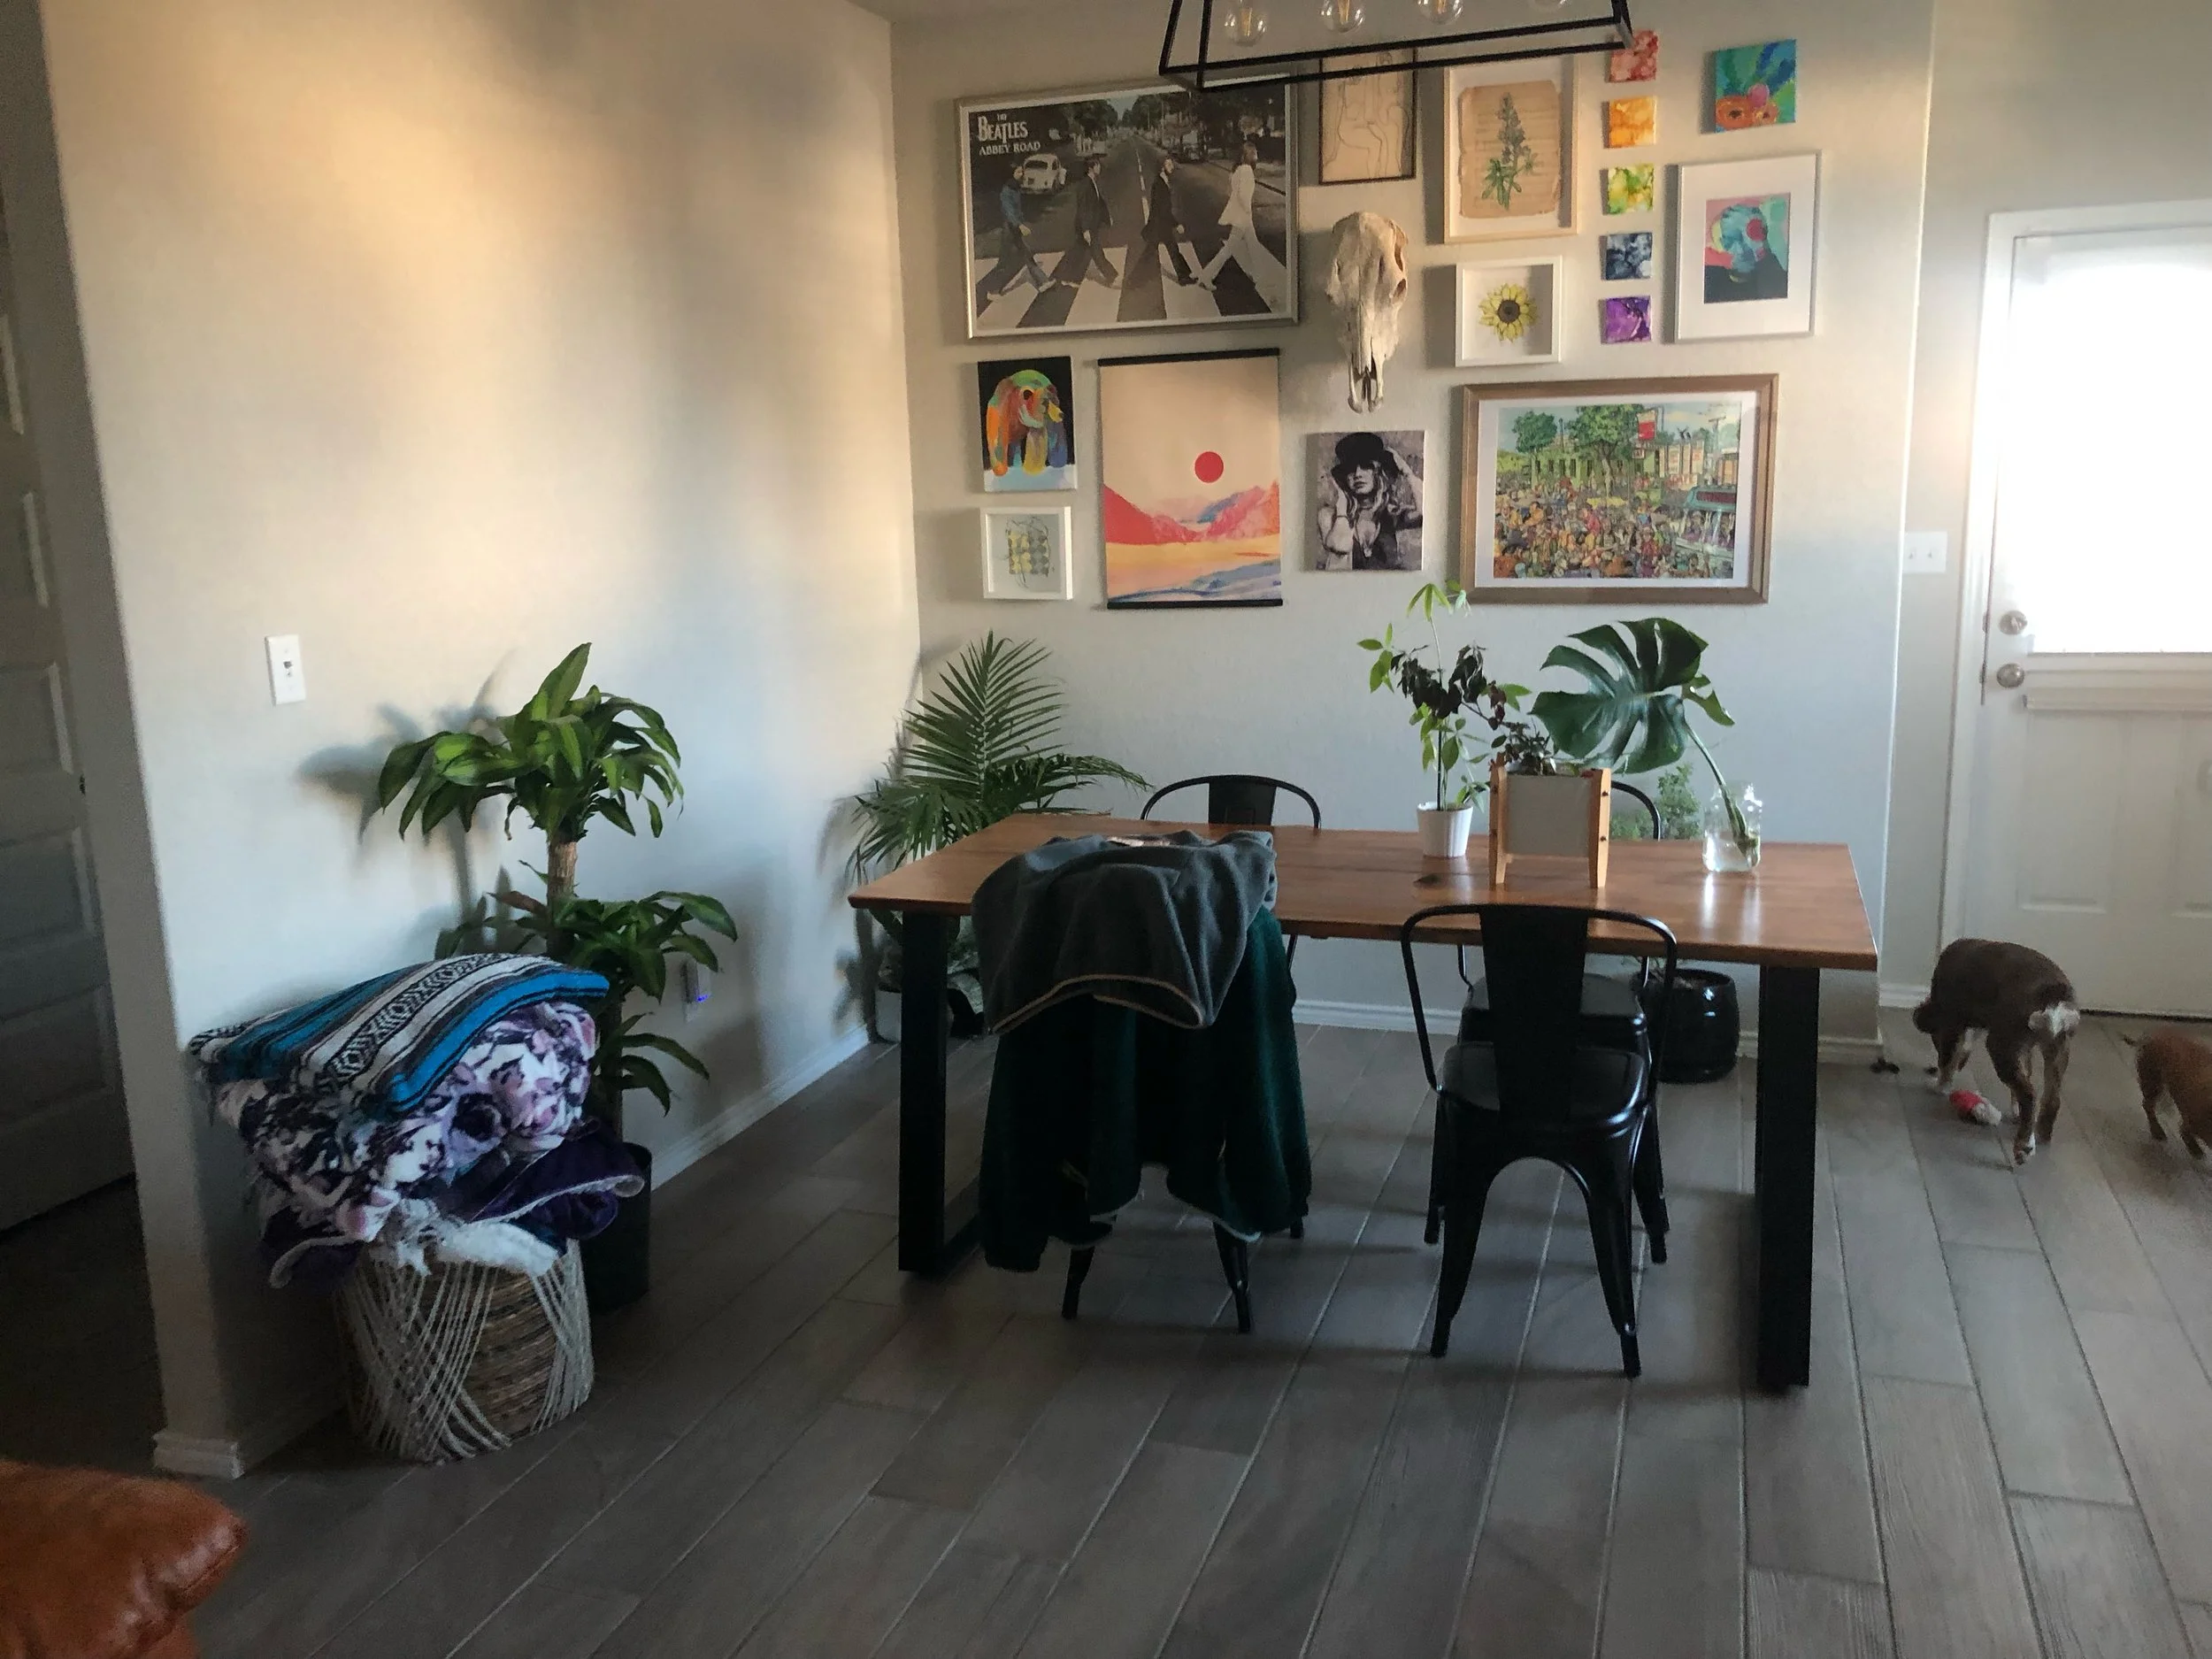
Before.
-
![]()
-
![]()
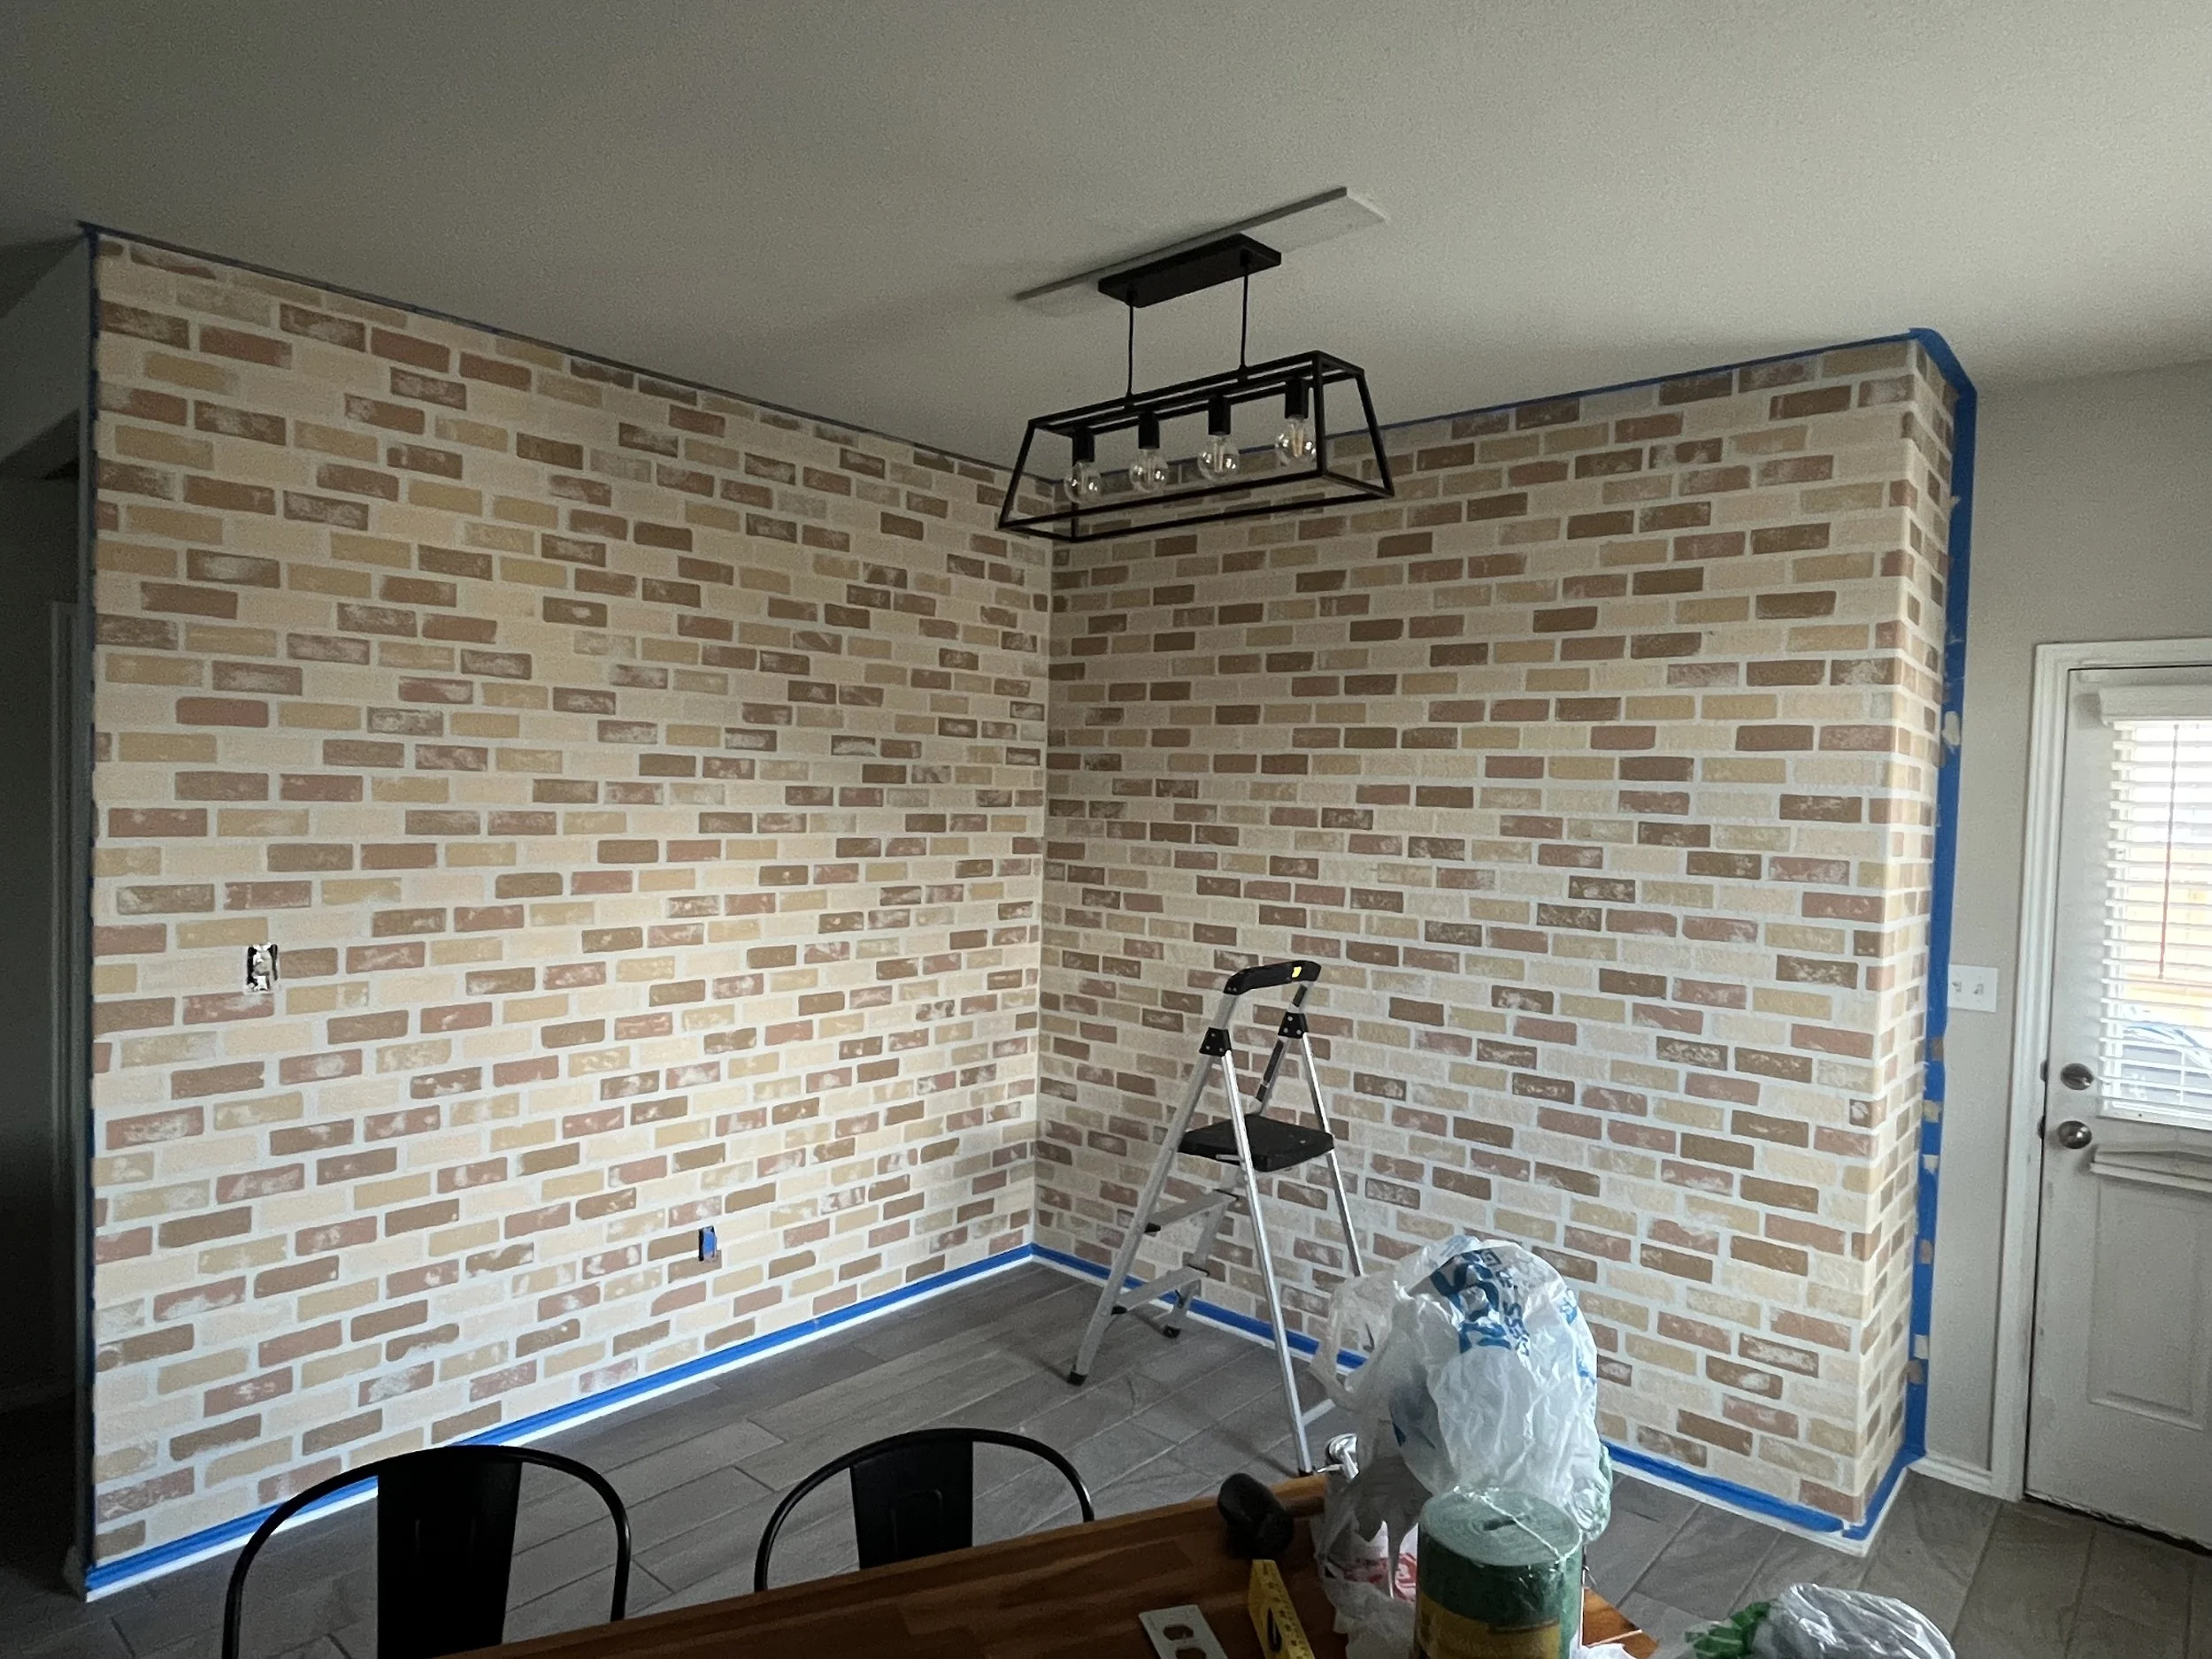
During.
-
![]()
-
![]()
Before whitewash.
-
![]()
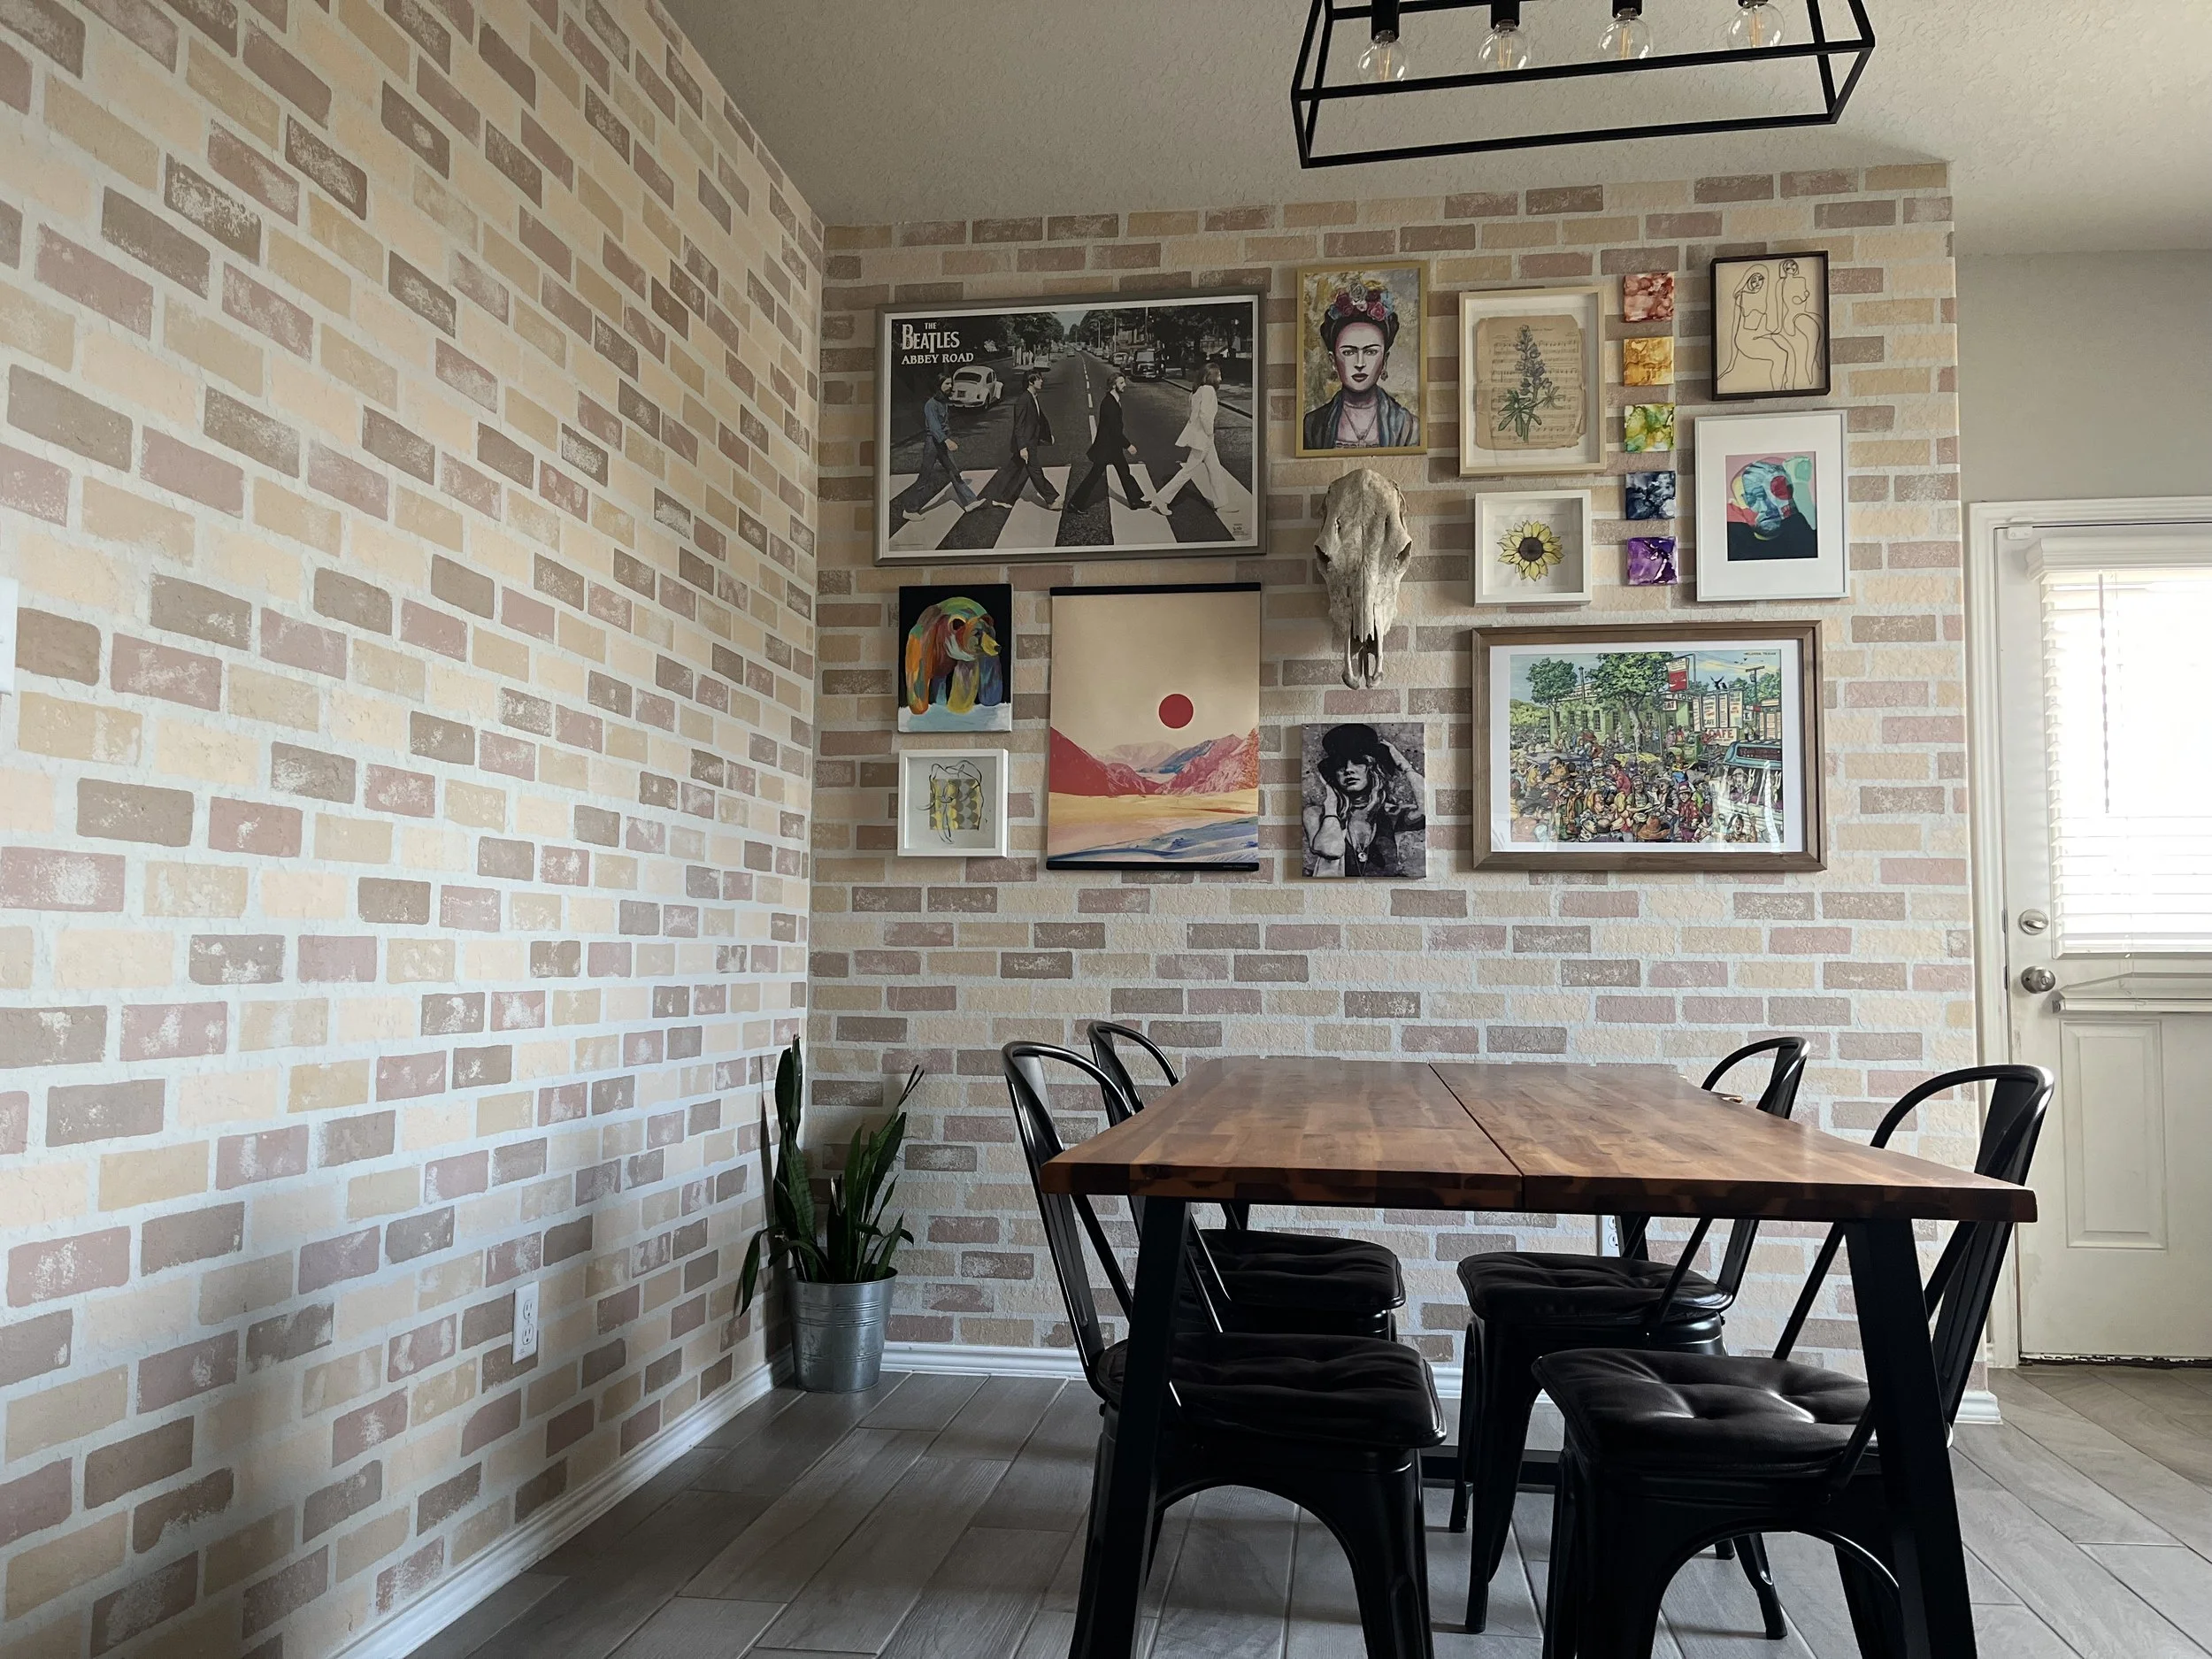
After Whitewash.
-
![]()
Completed Project.
-
![]()